
Hertfordshire wedding photographer Steve Shipman
Hi, I’m Steve and thank you for visiting my wedding photography website. Sadly, I am no longer able to accept wedding photography bookings. I hope you enjoy looking at my images, which will remain online as a public archive for anyone who’s interested or curious. My life has taken an unexpected and unwelcome change of direction, and you can read about it, starting here, on my personal blog.
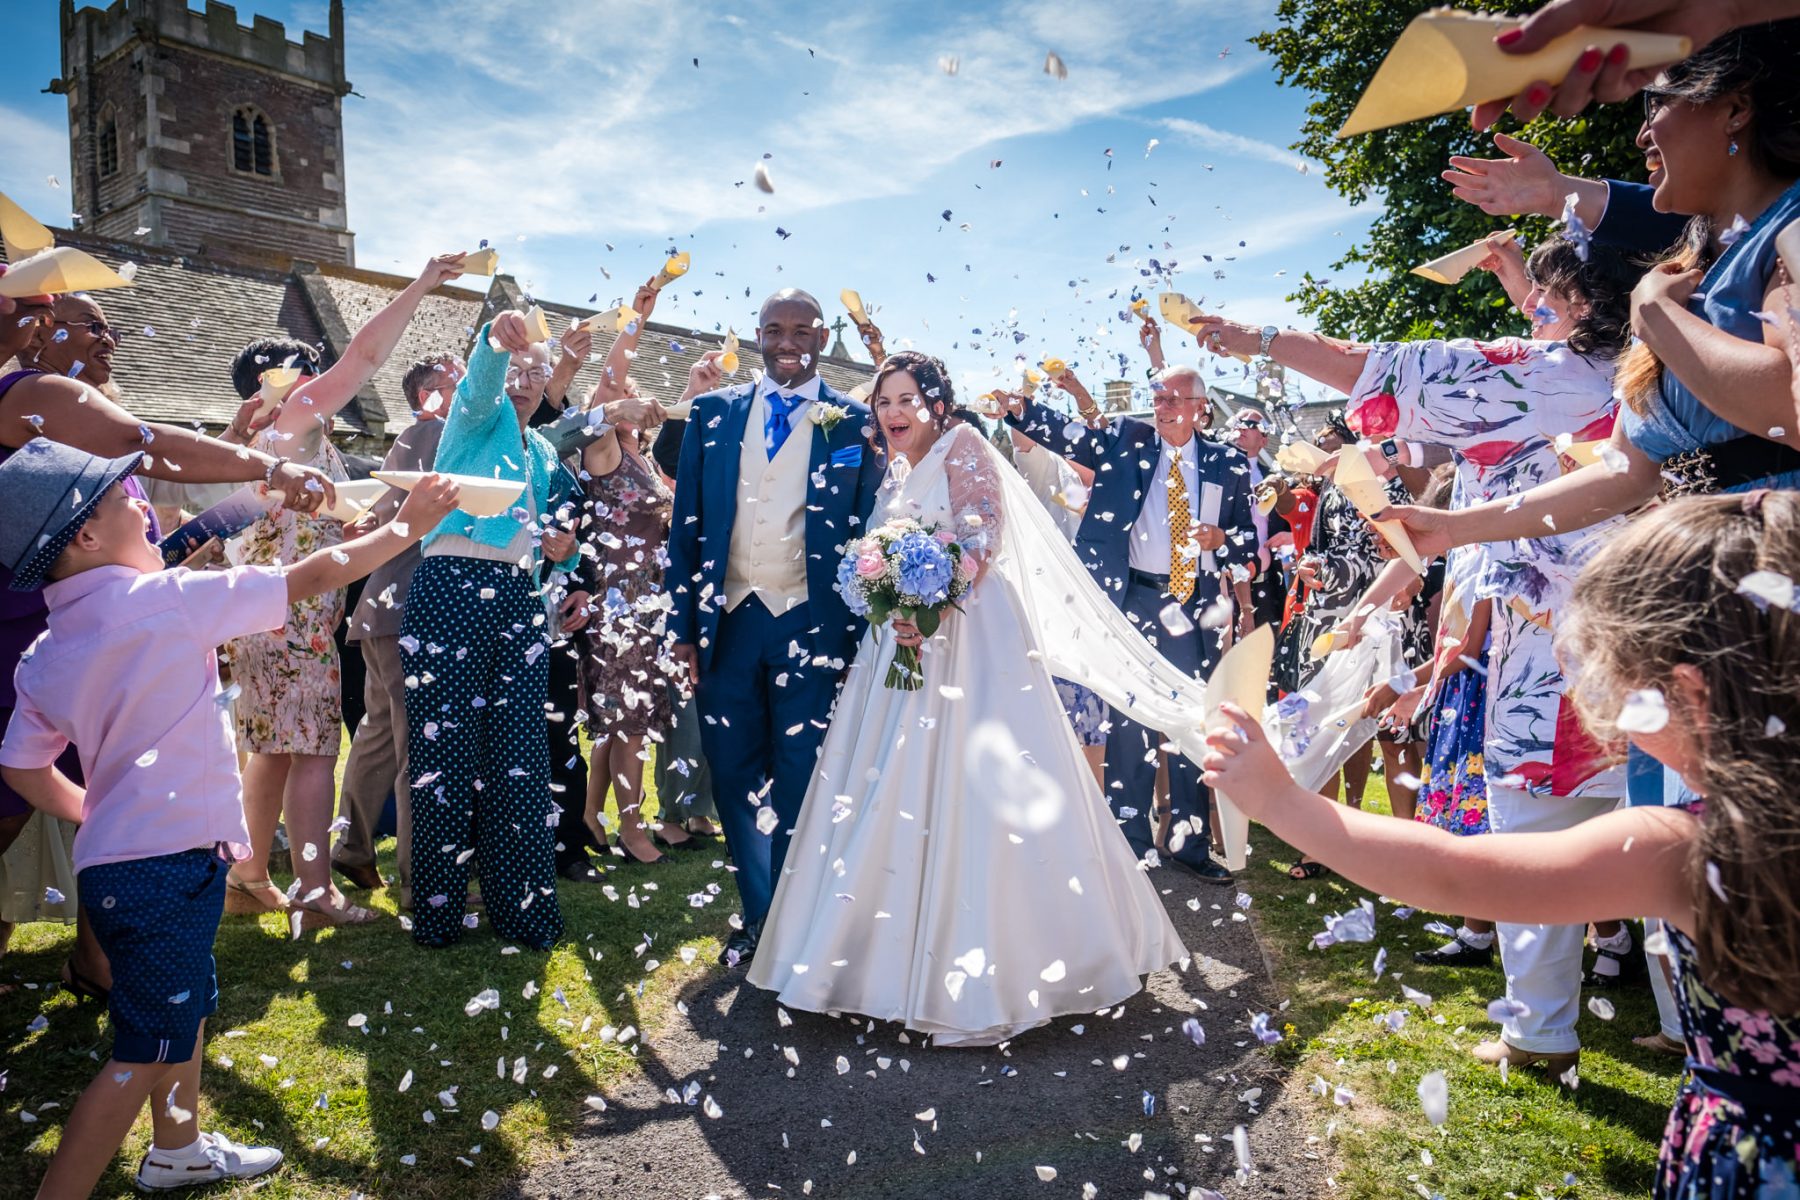
I am a storyteller in images, and my wedding day photography will document your ceremony, becoming your timeless story. As Leo Tolstoy said, “a story should be utterly infectious, as it inspires the viewer with the feelings he or she has lived through, so that other people are also moved by your story”.
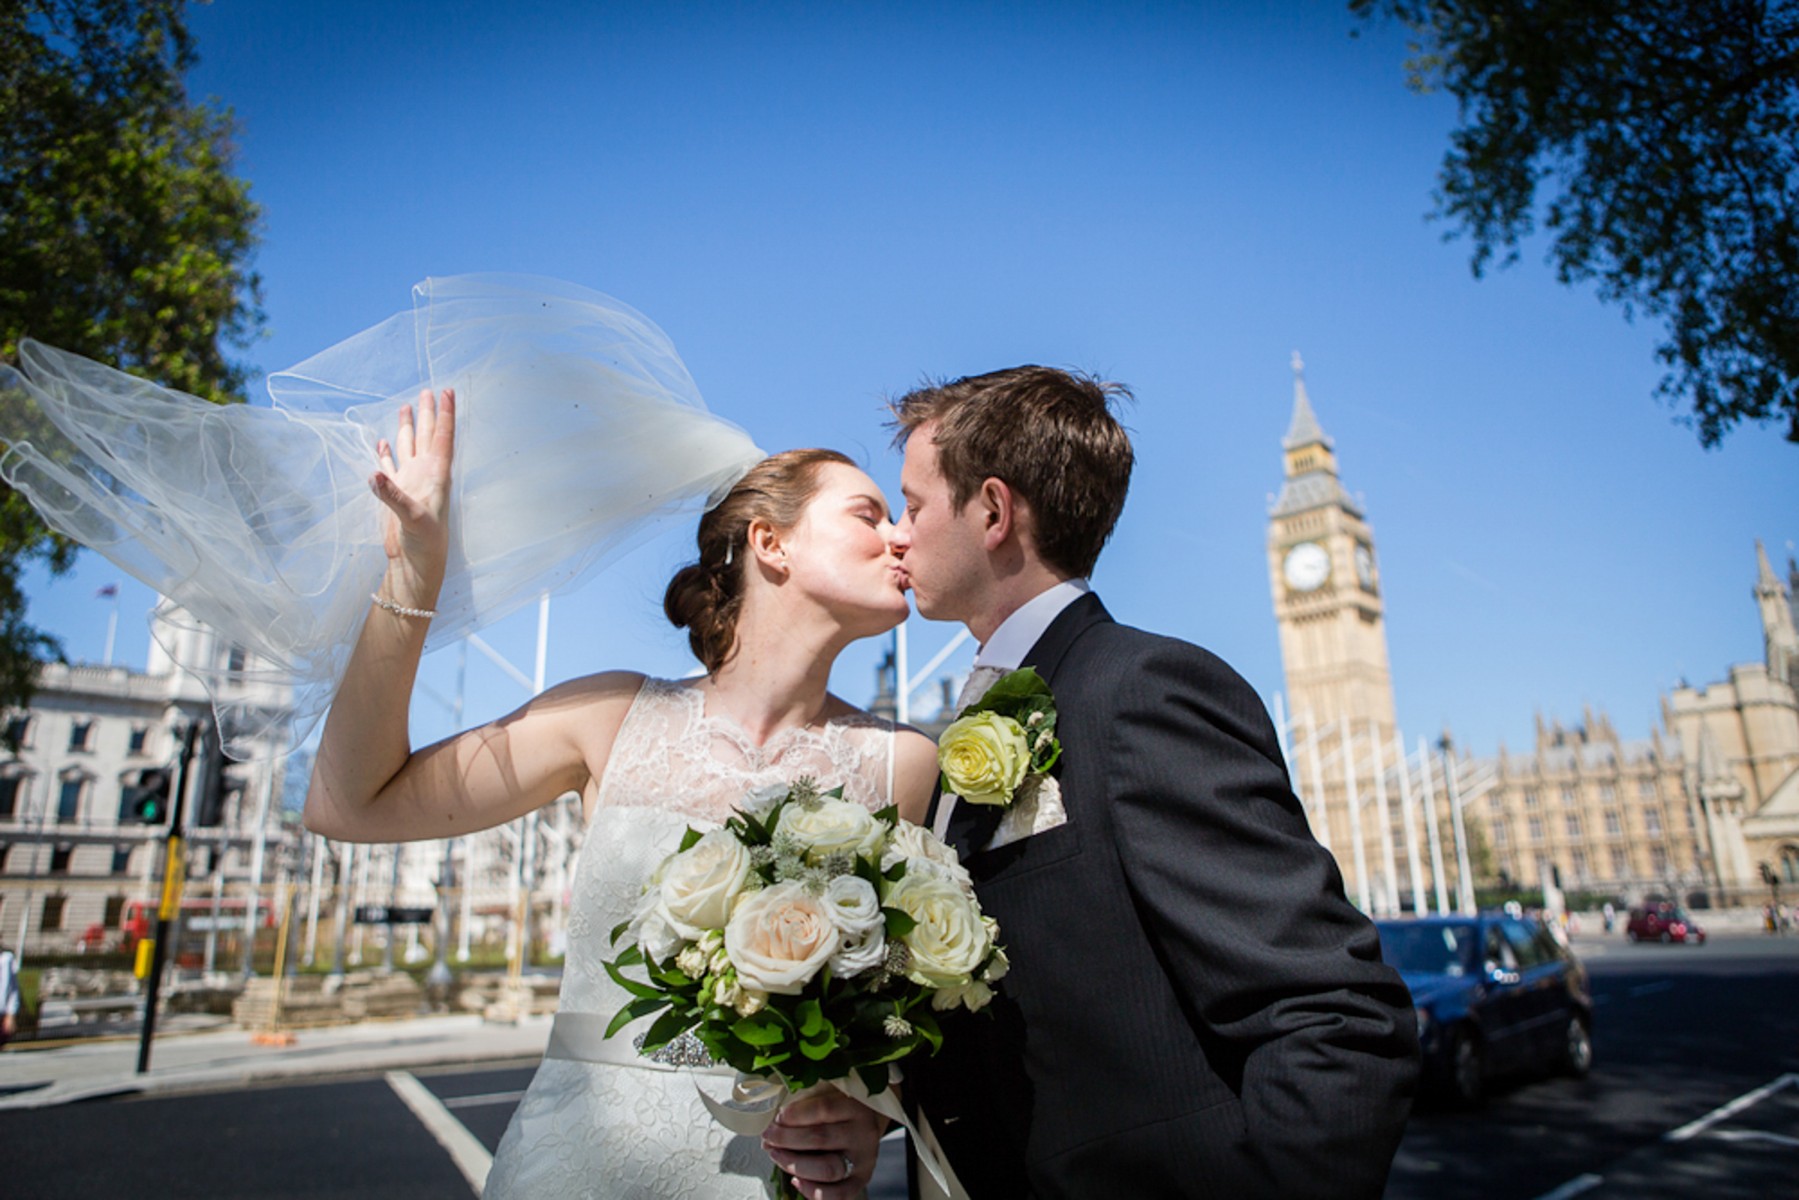
Please have a look at my portfolio. Just click on the menu buttons on the left here to explore my wedding photography website and do visit my blog to get a better idea of the kind of wedding photography I can do for you. You can see a short video of me by visiting my About page. I live in sunny St Albans, and I am ideally positioned here to photograph beautiful Hertfordshire weddings, as well as London weddings, Bedfordshire, Buckinghamshire, Cambridgeshire and Berkshire weddings too.
“Thank you for helping make our wedding day the most memorable day ever! You have been an absolute pleasure to work with.” Sam and Carissa
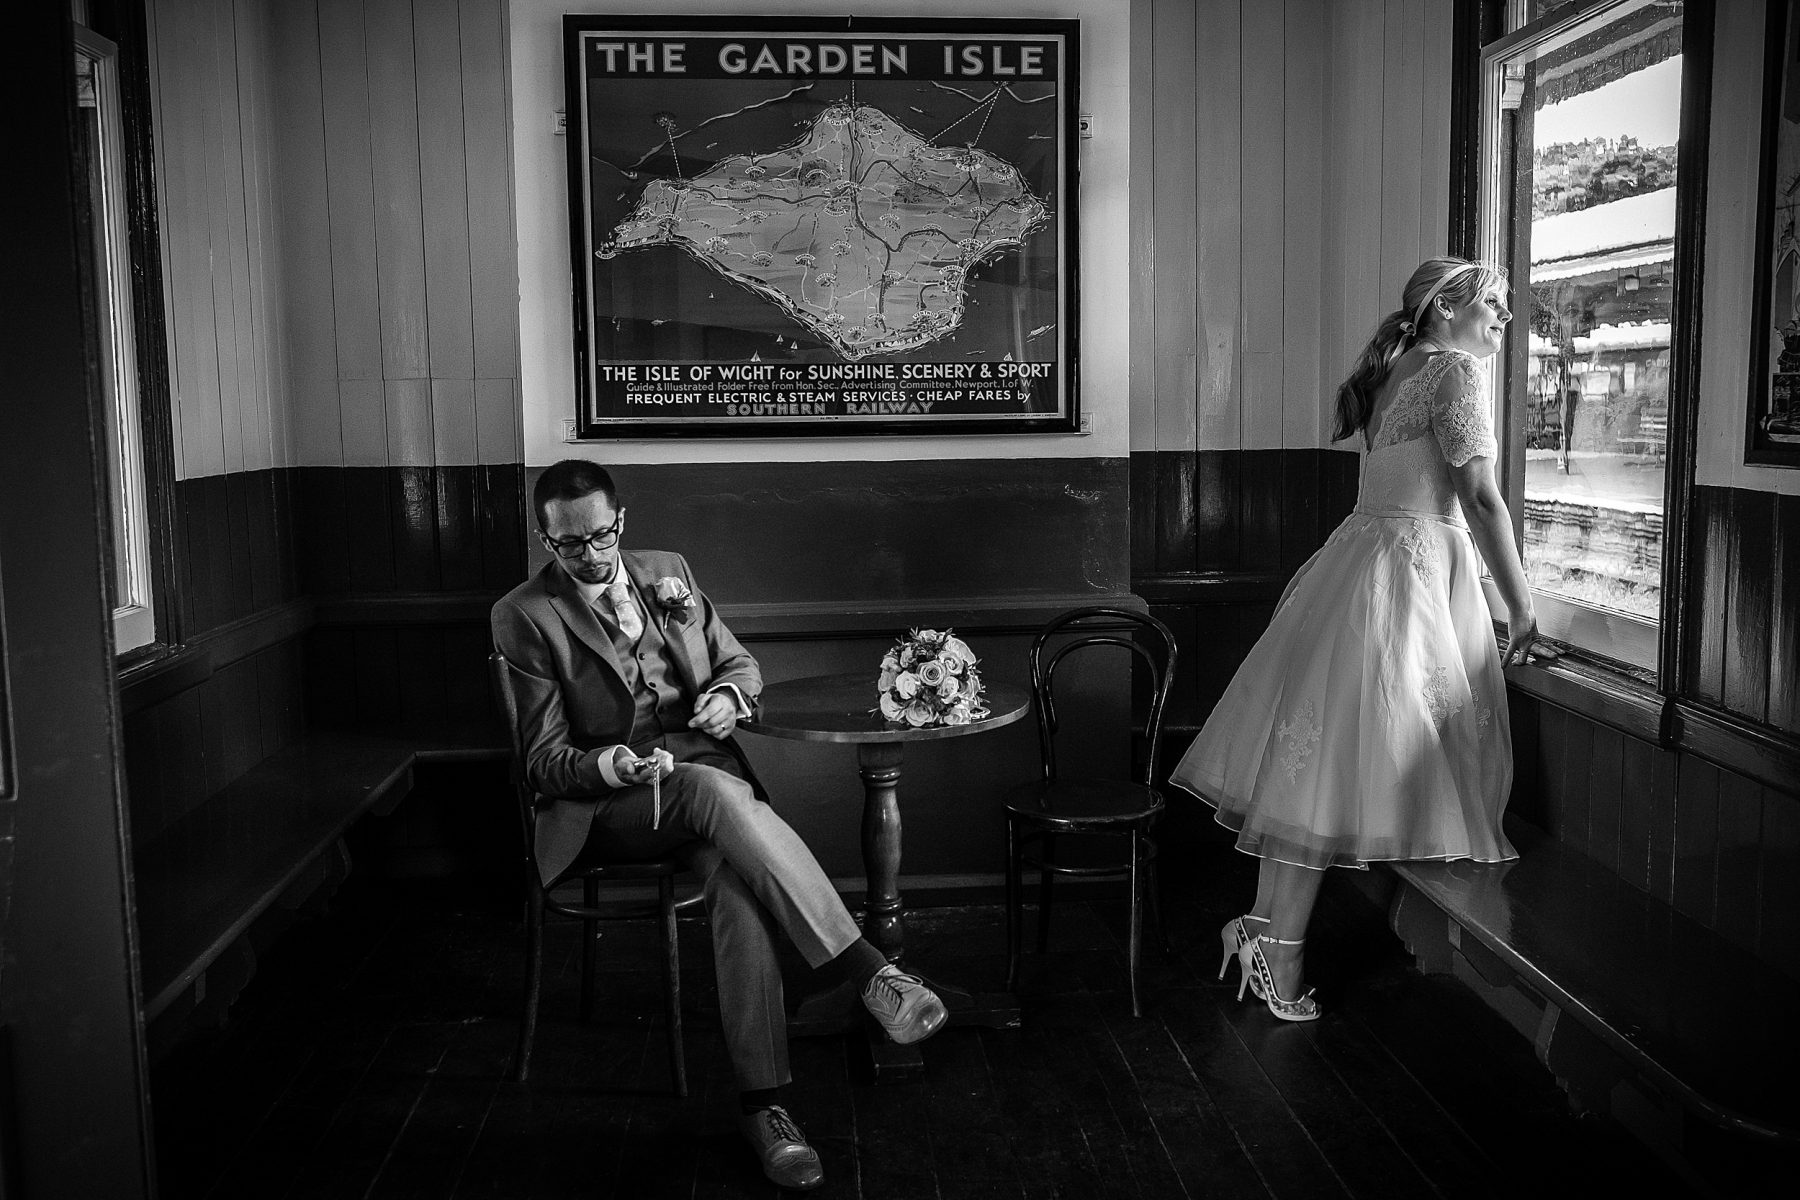
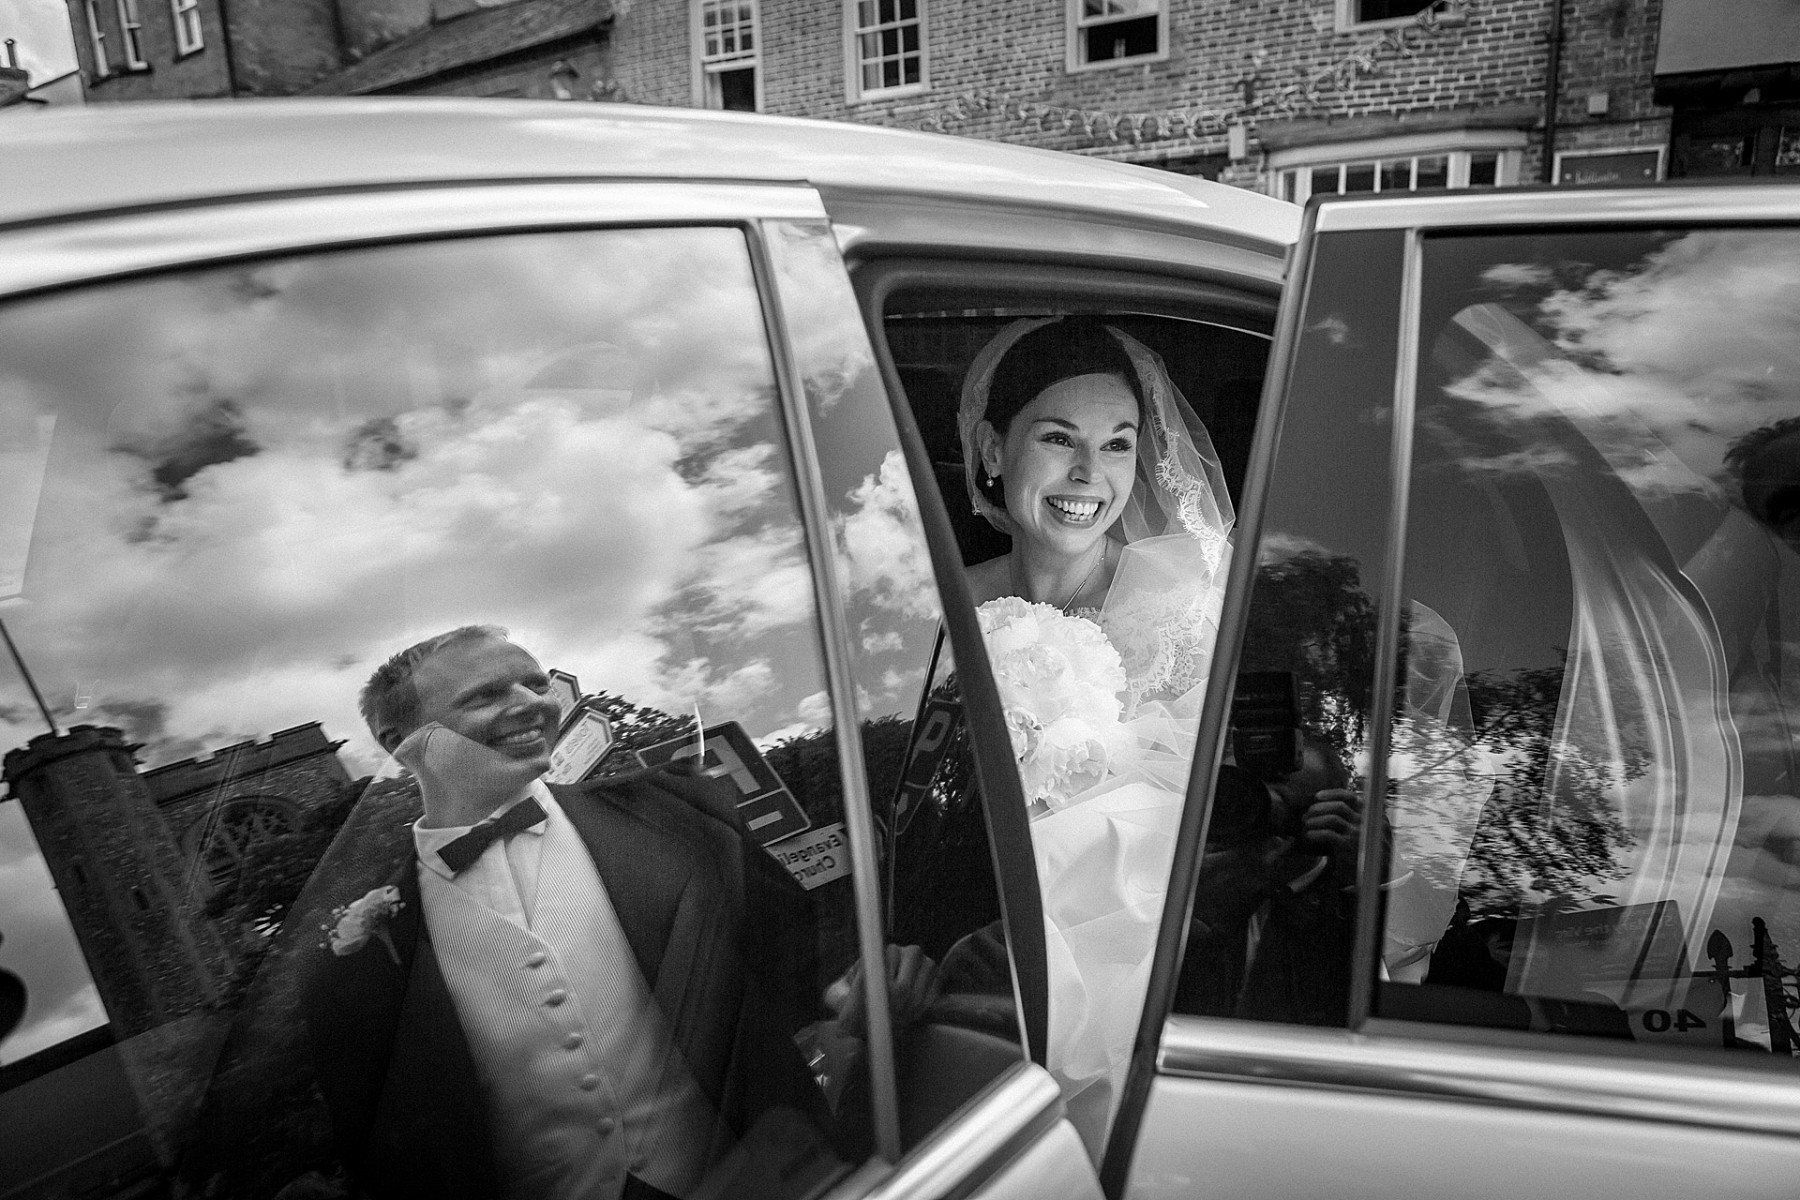
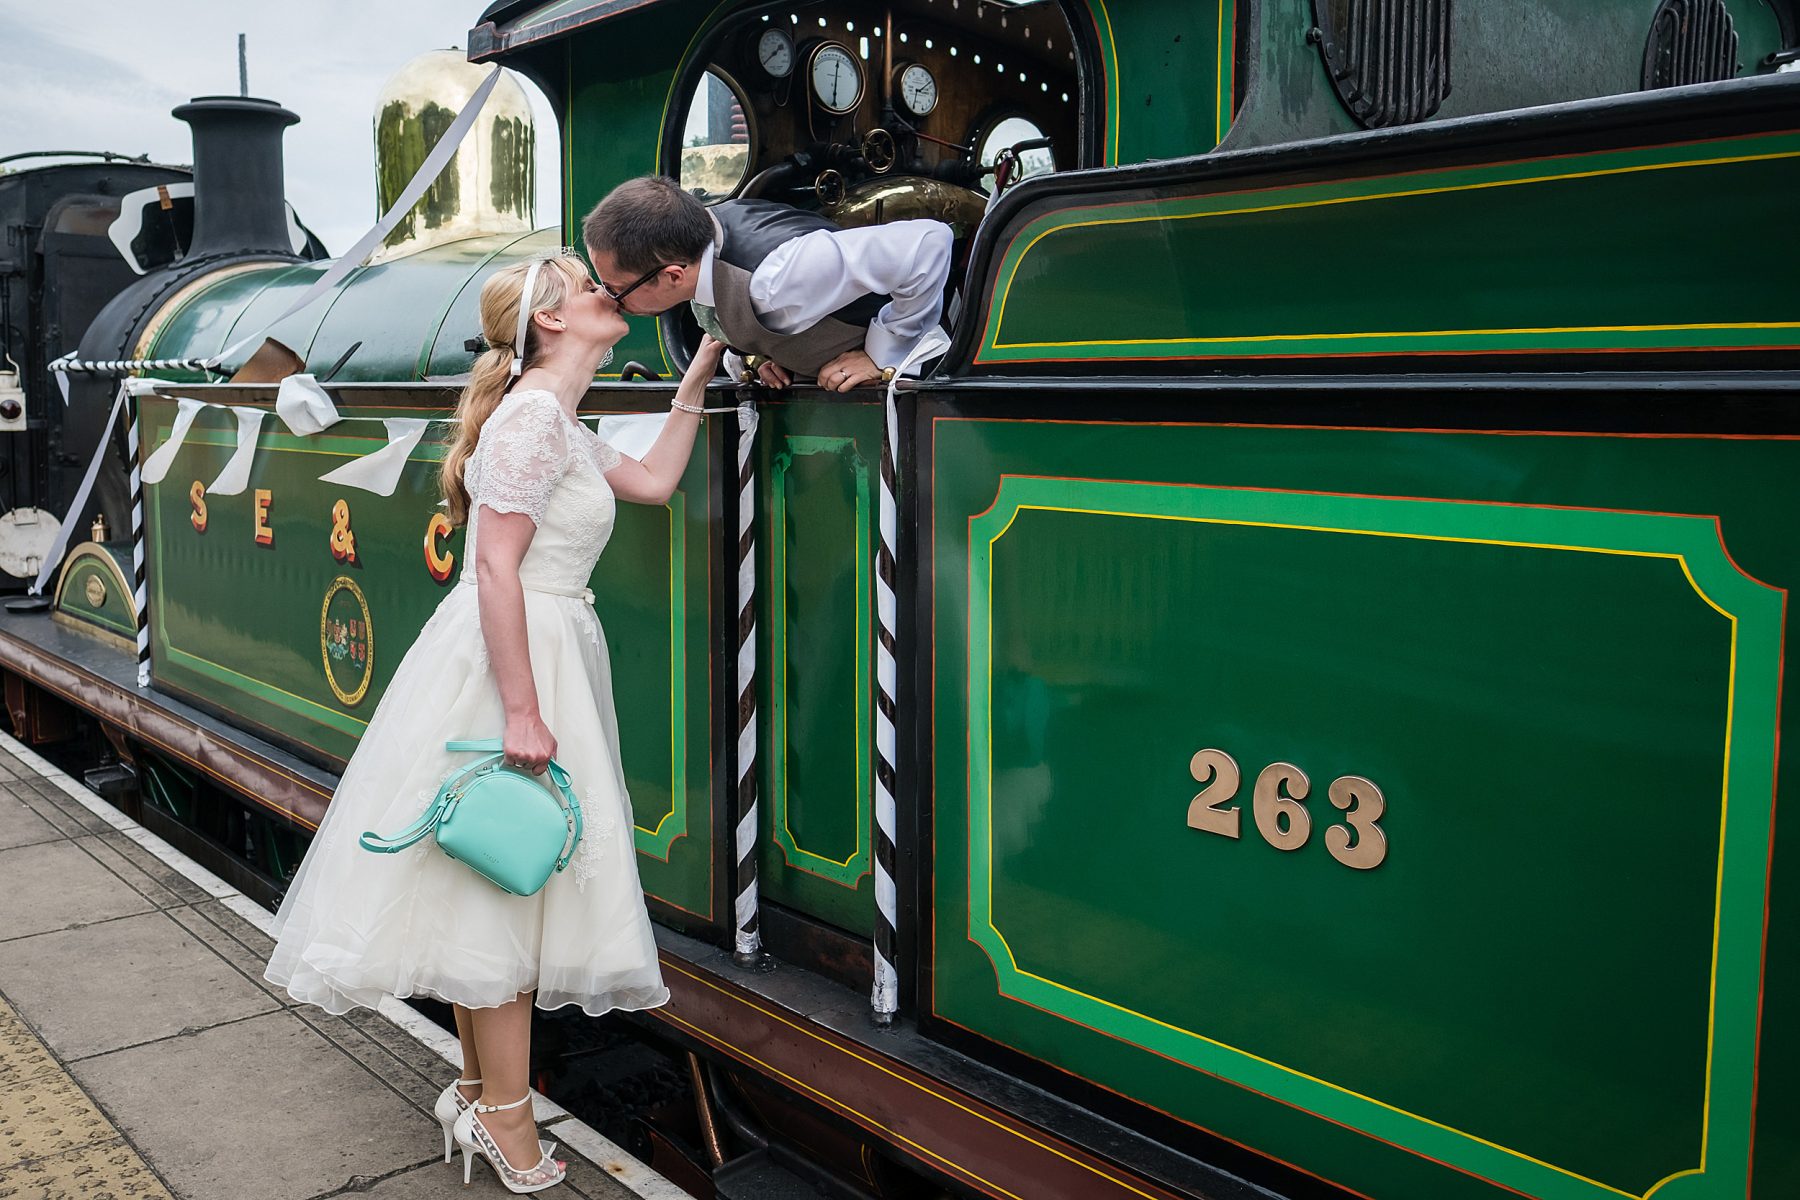
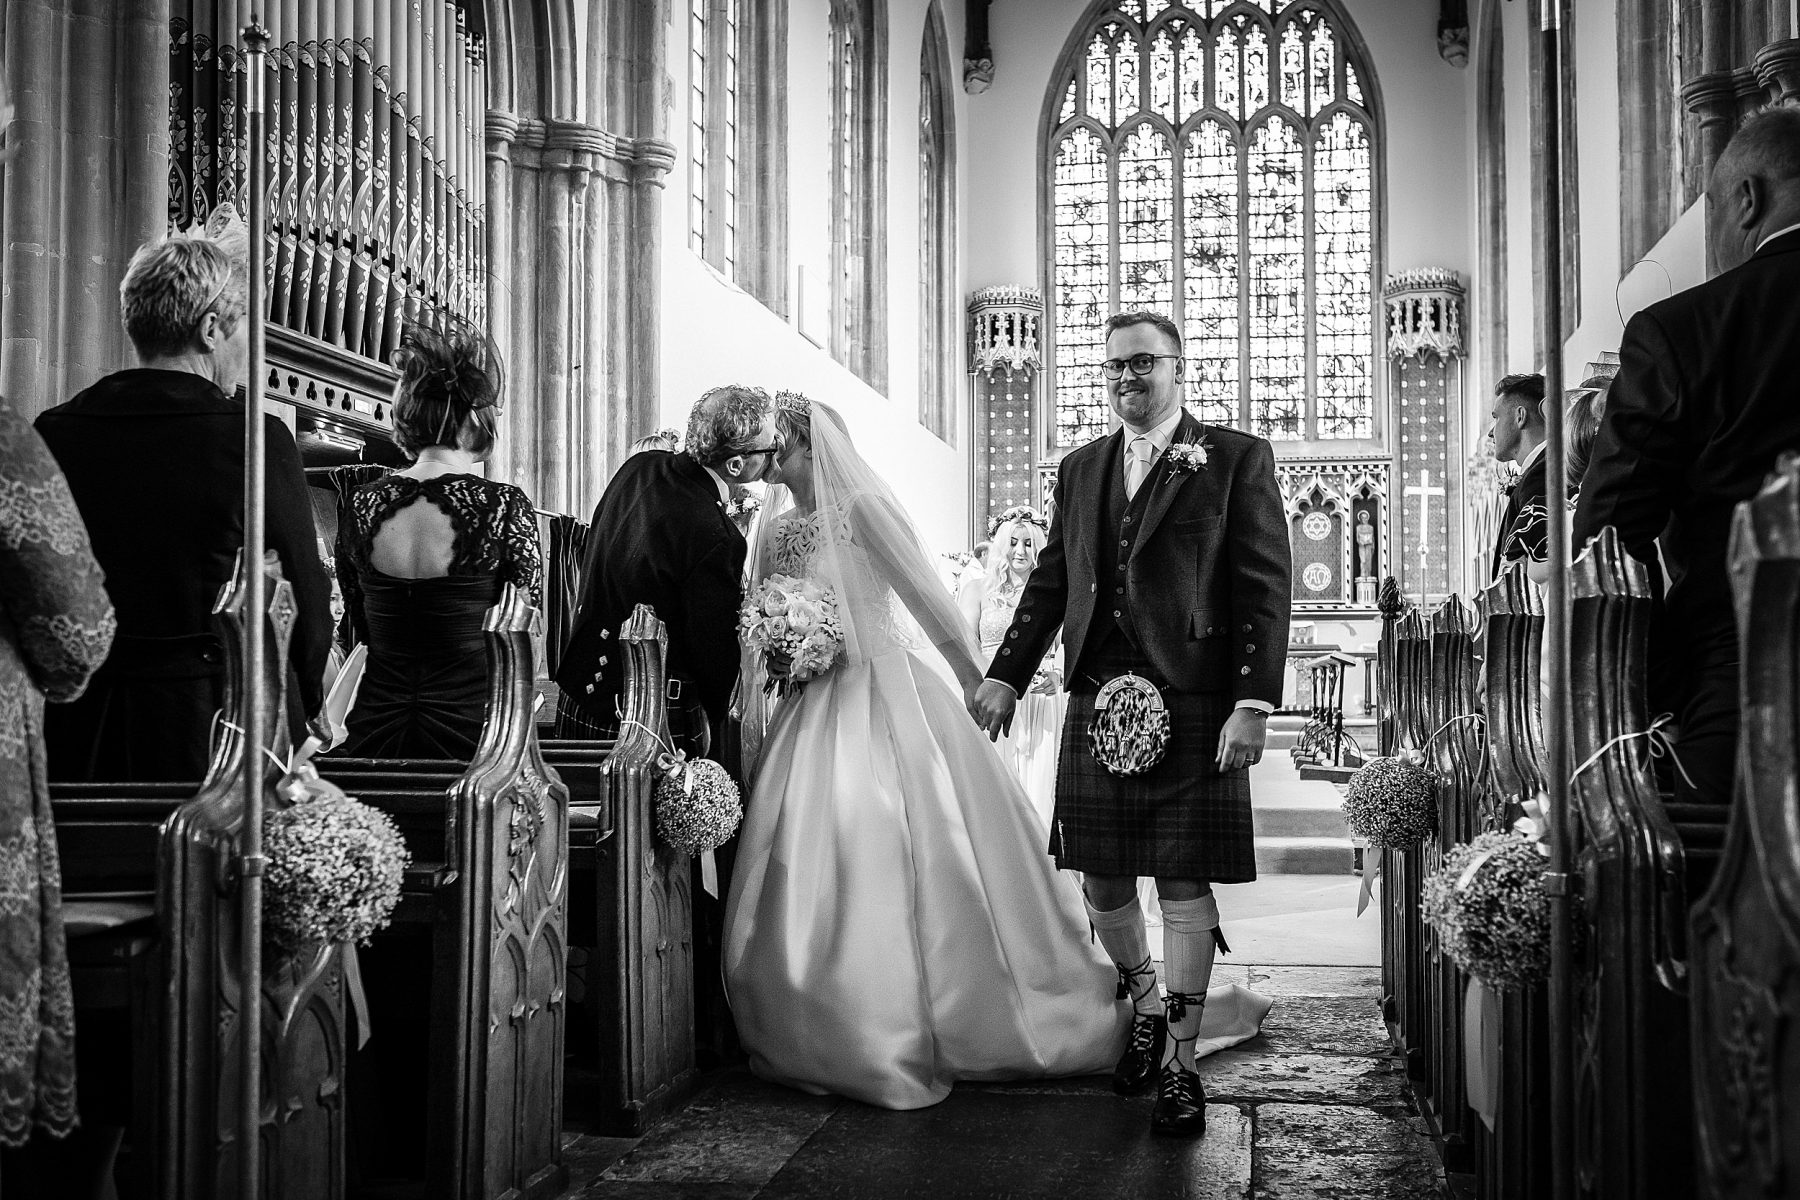
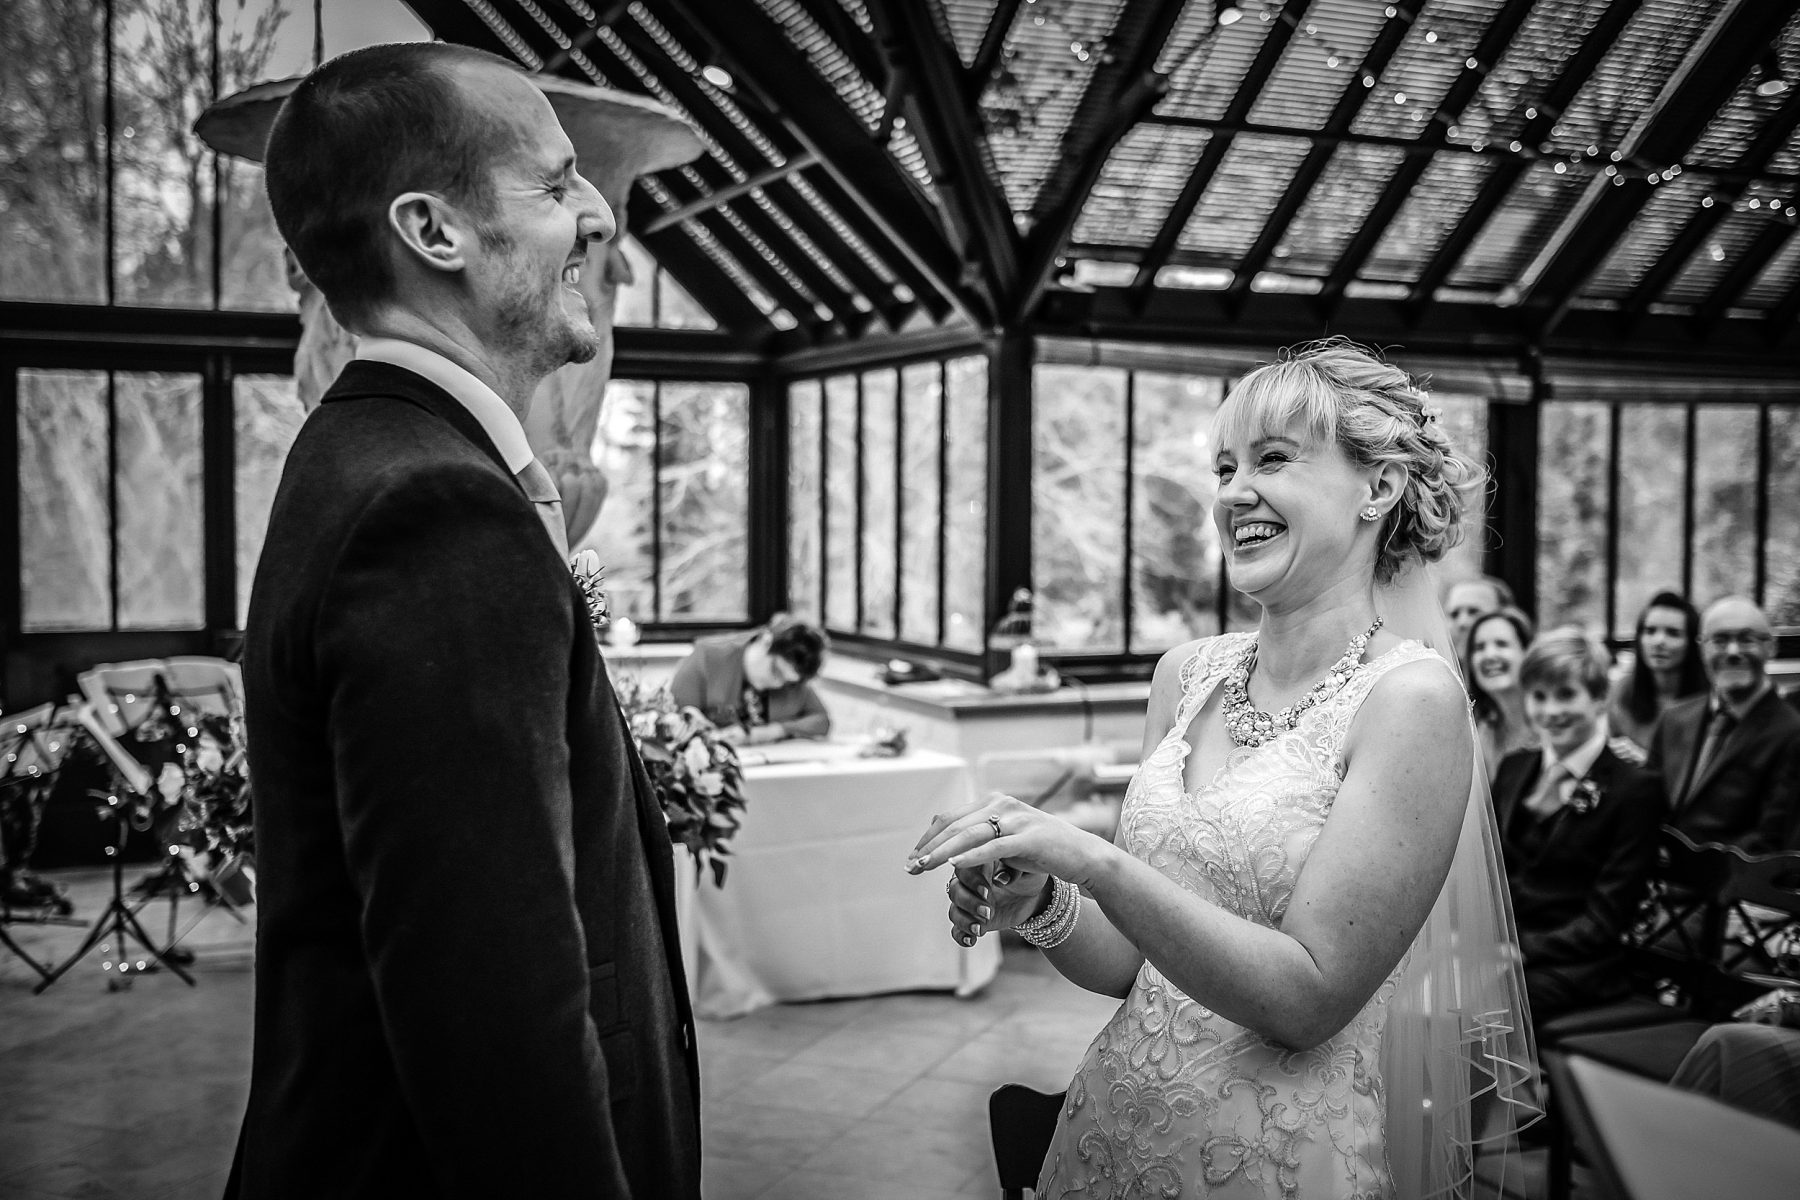
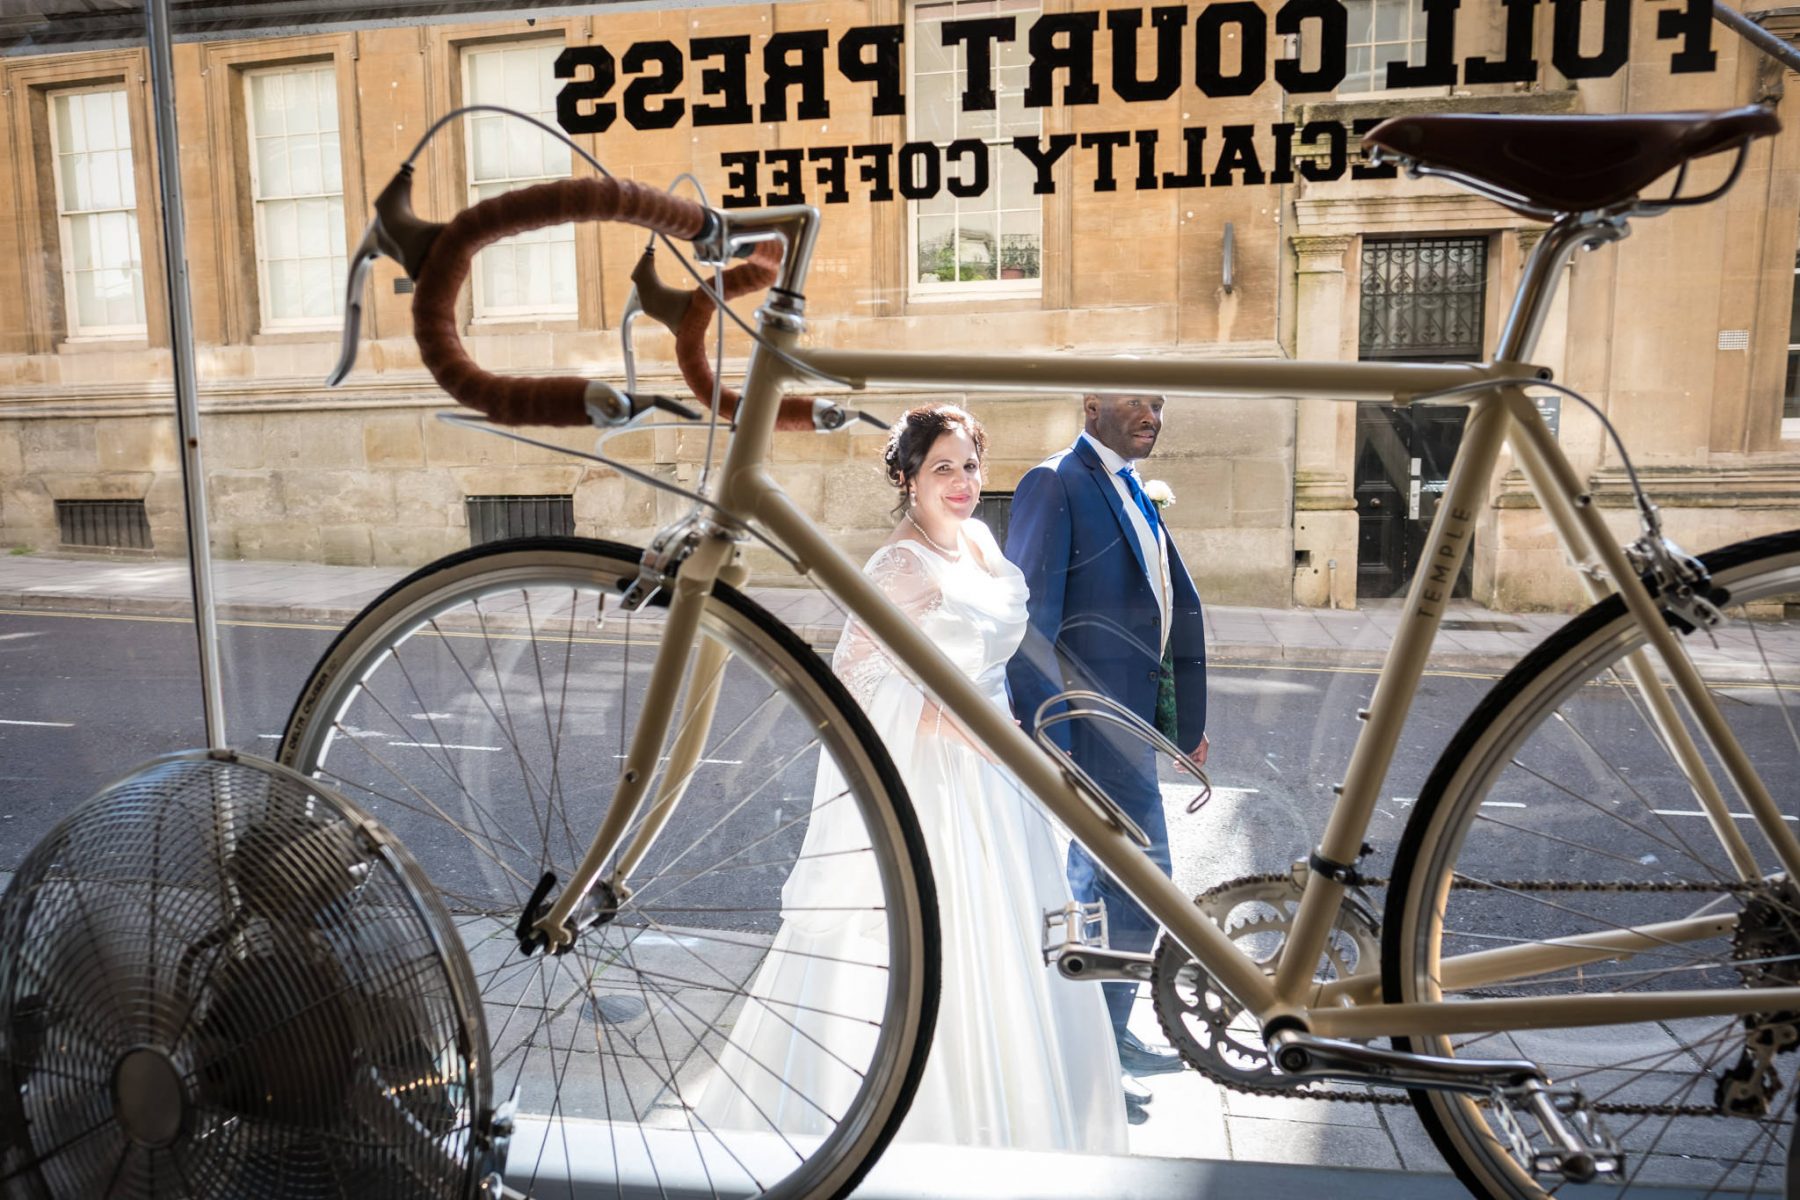
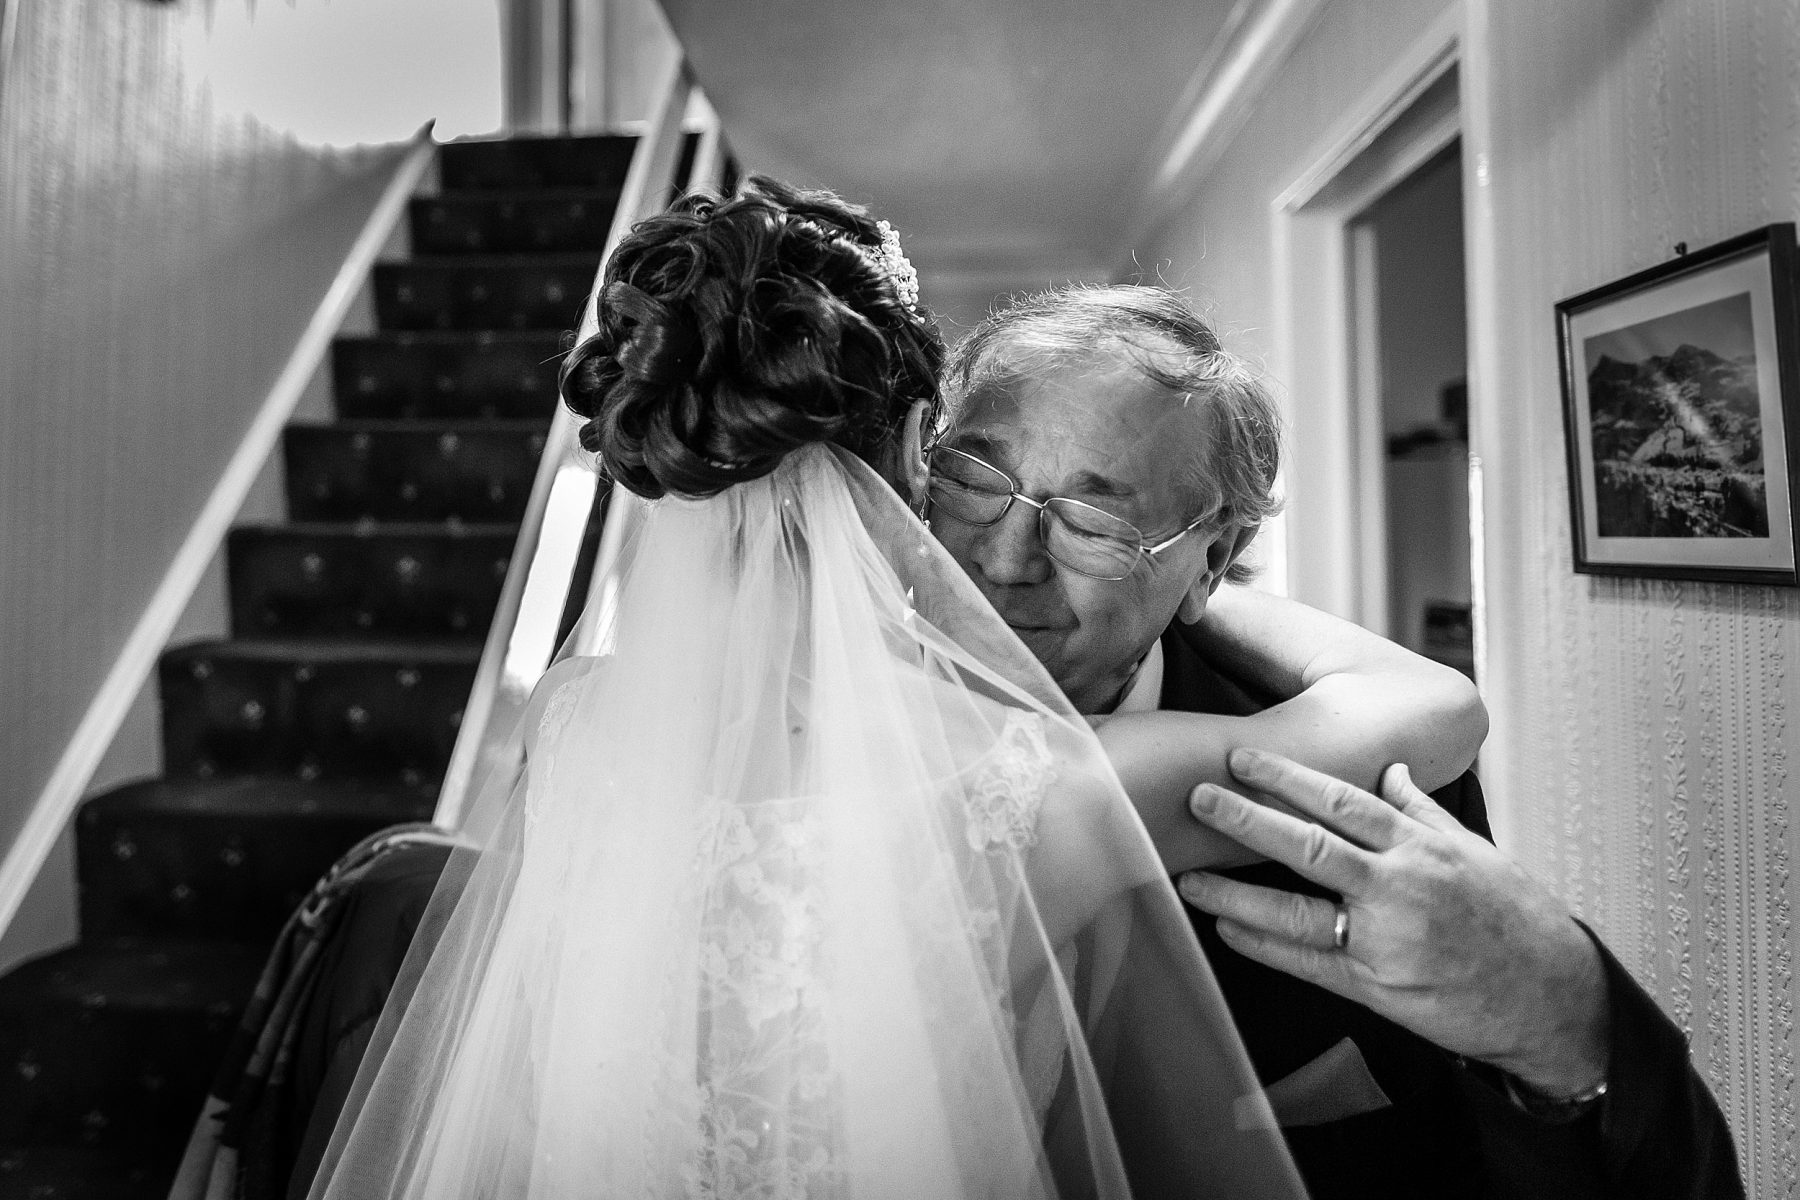
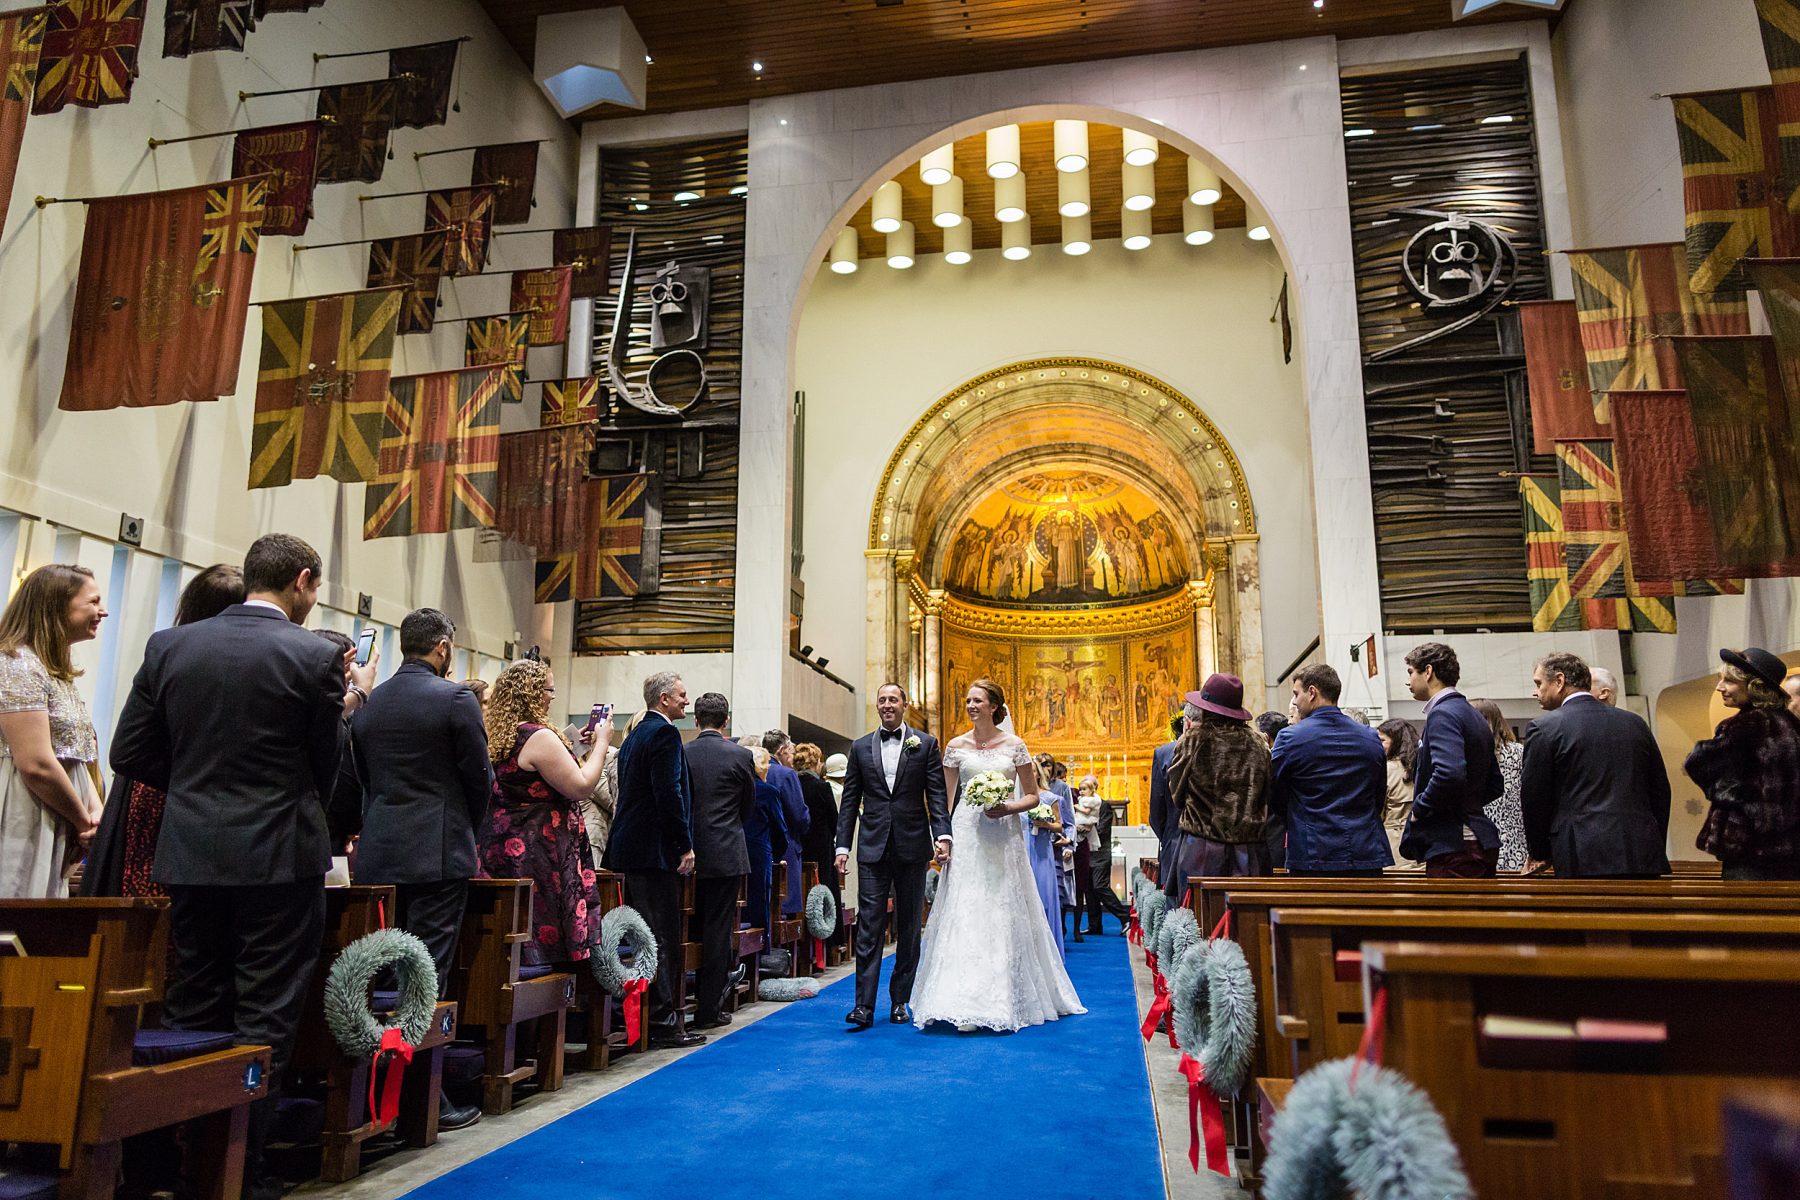
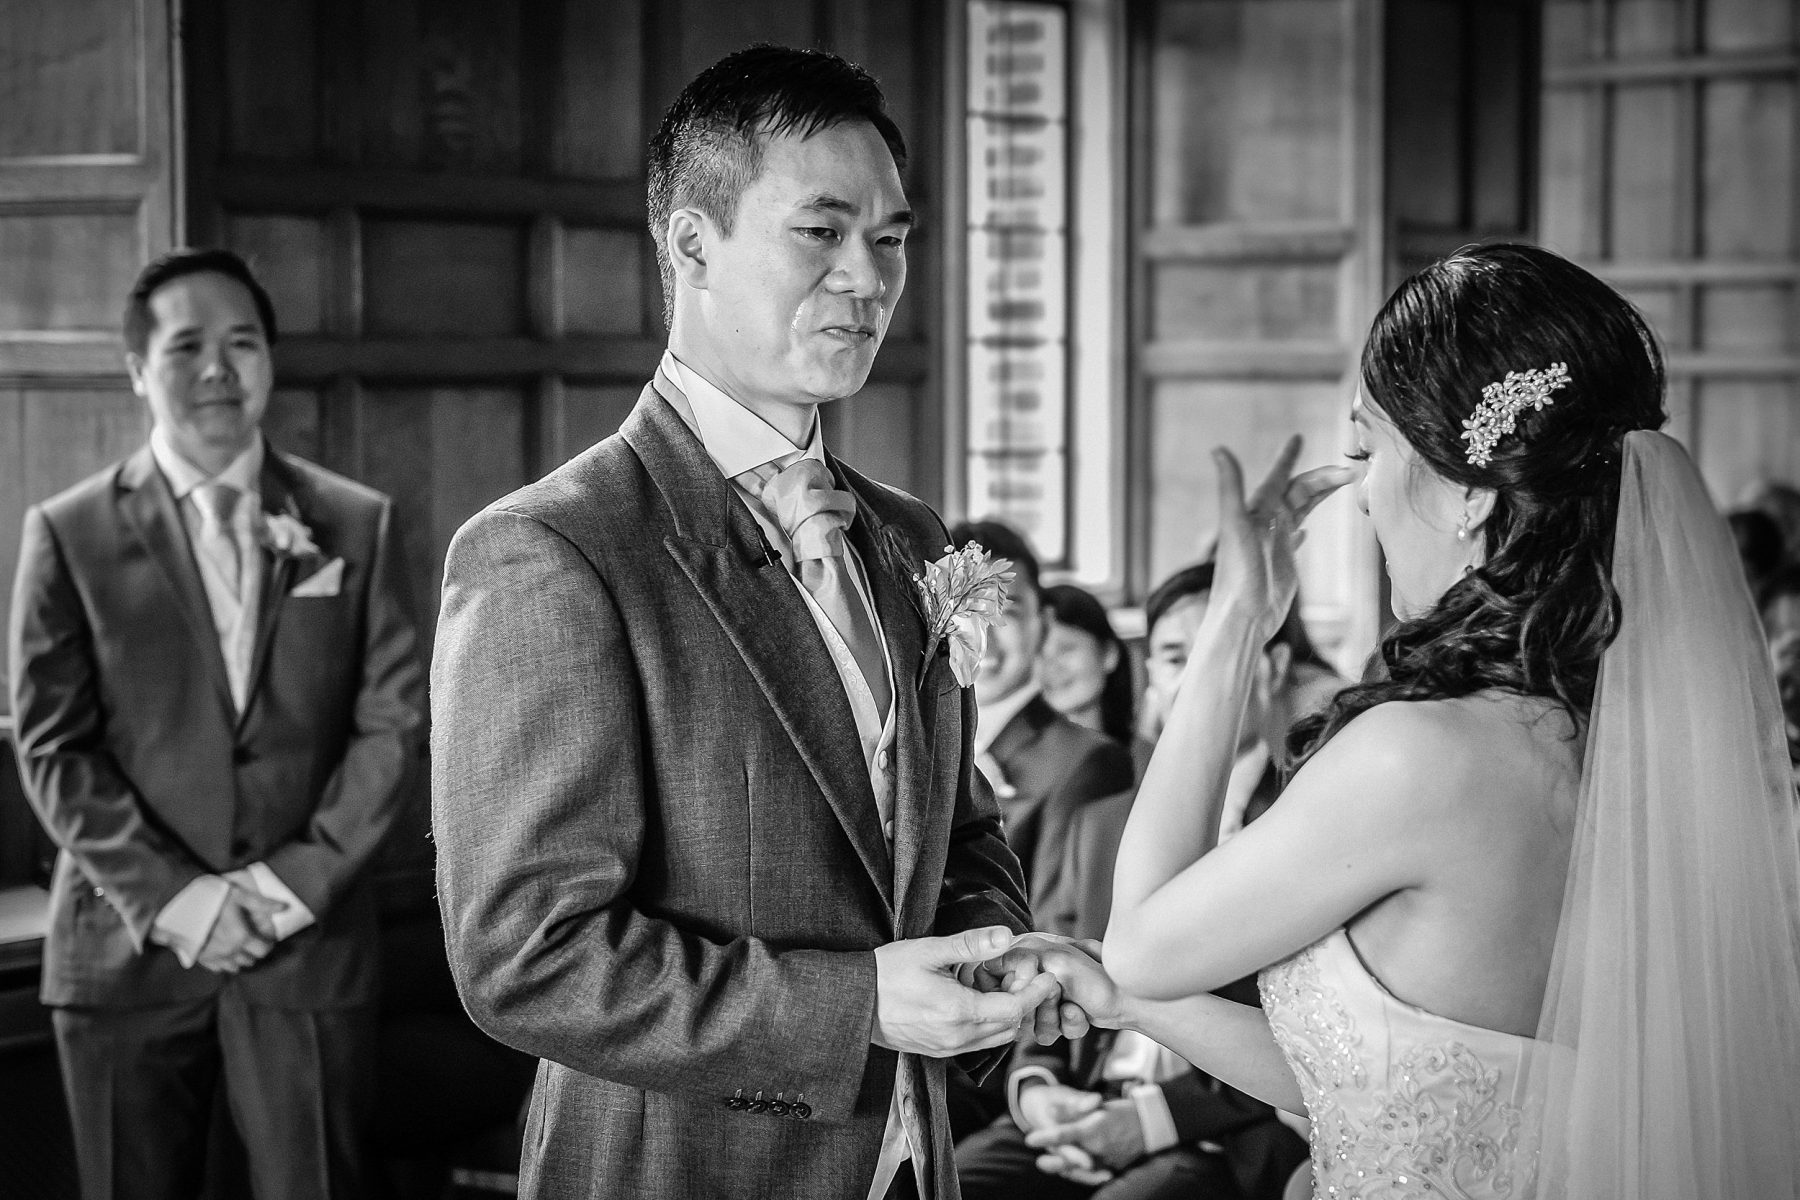
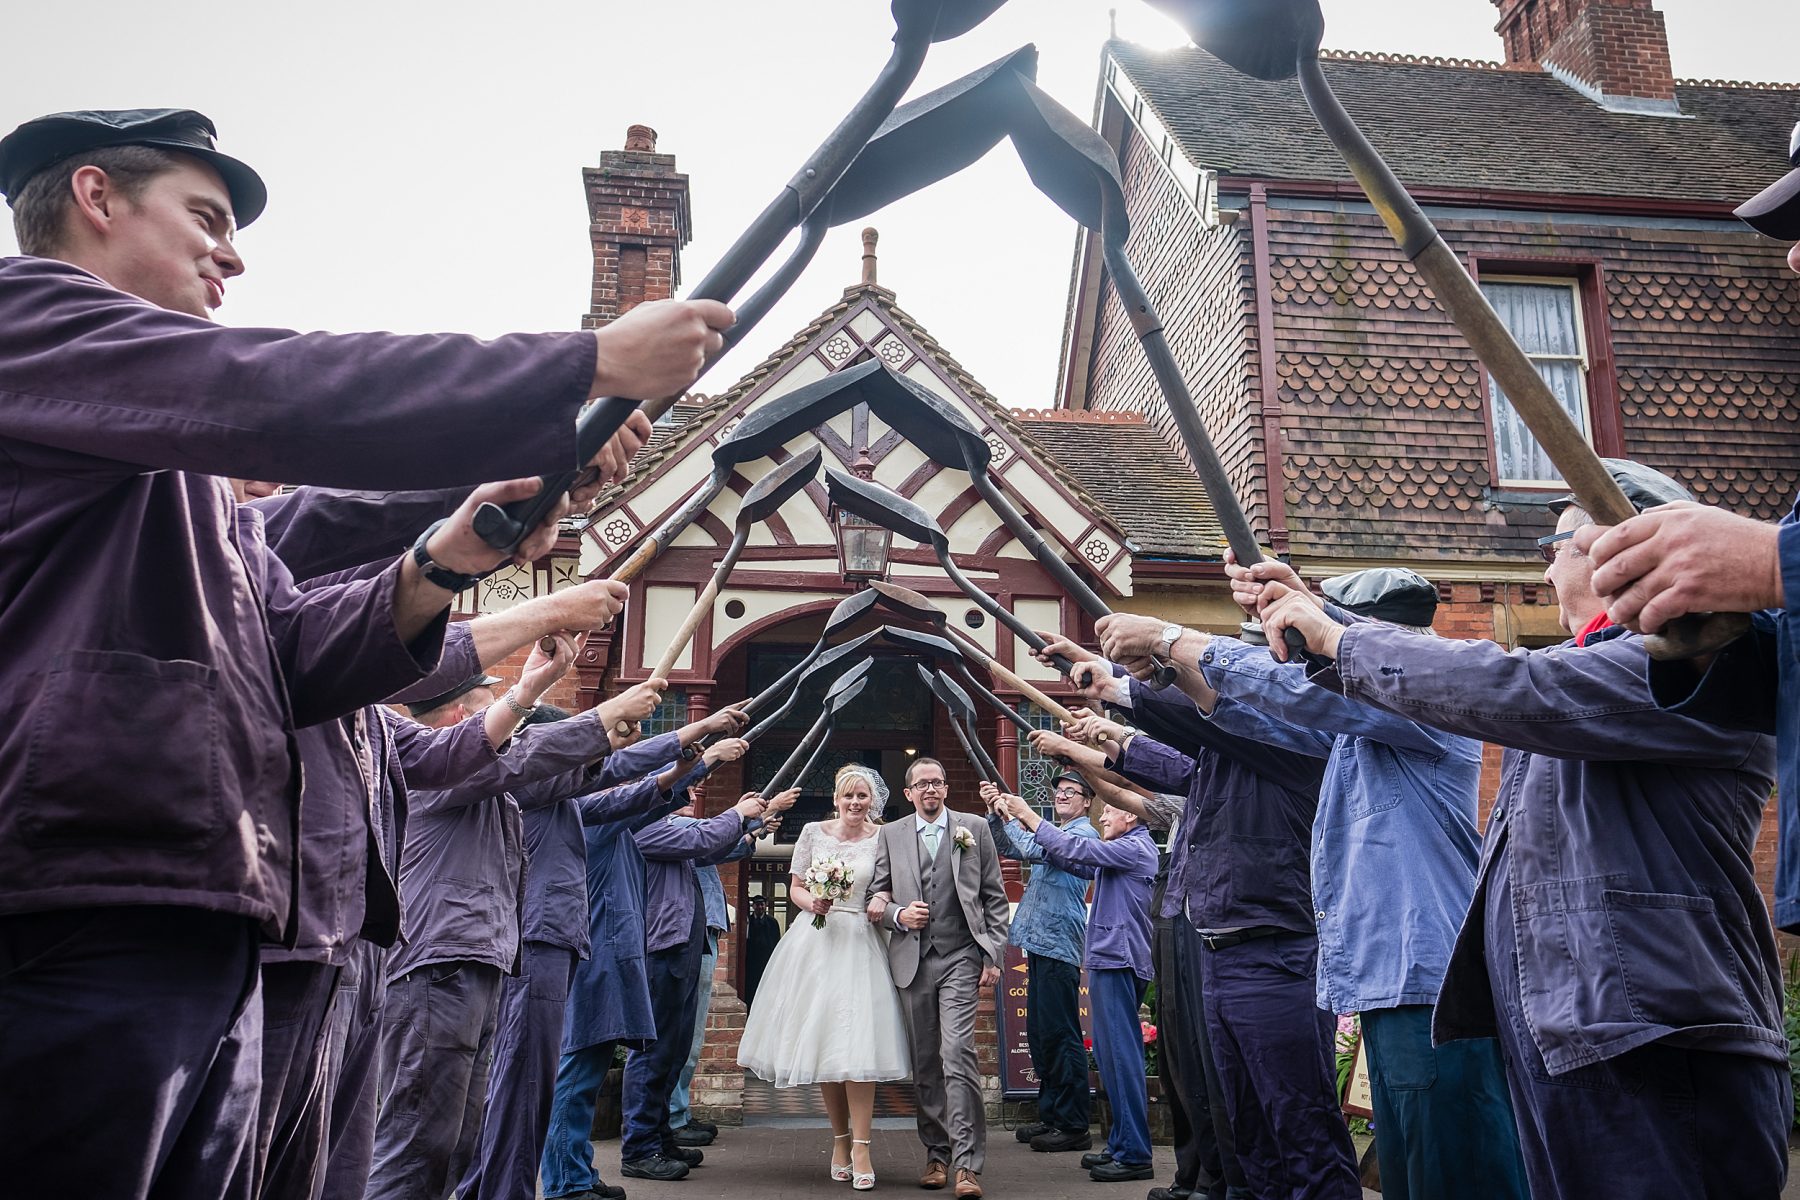
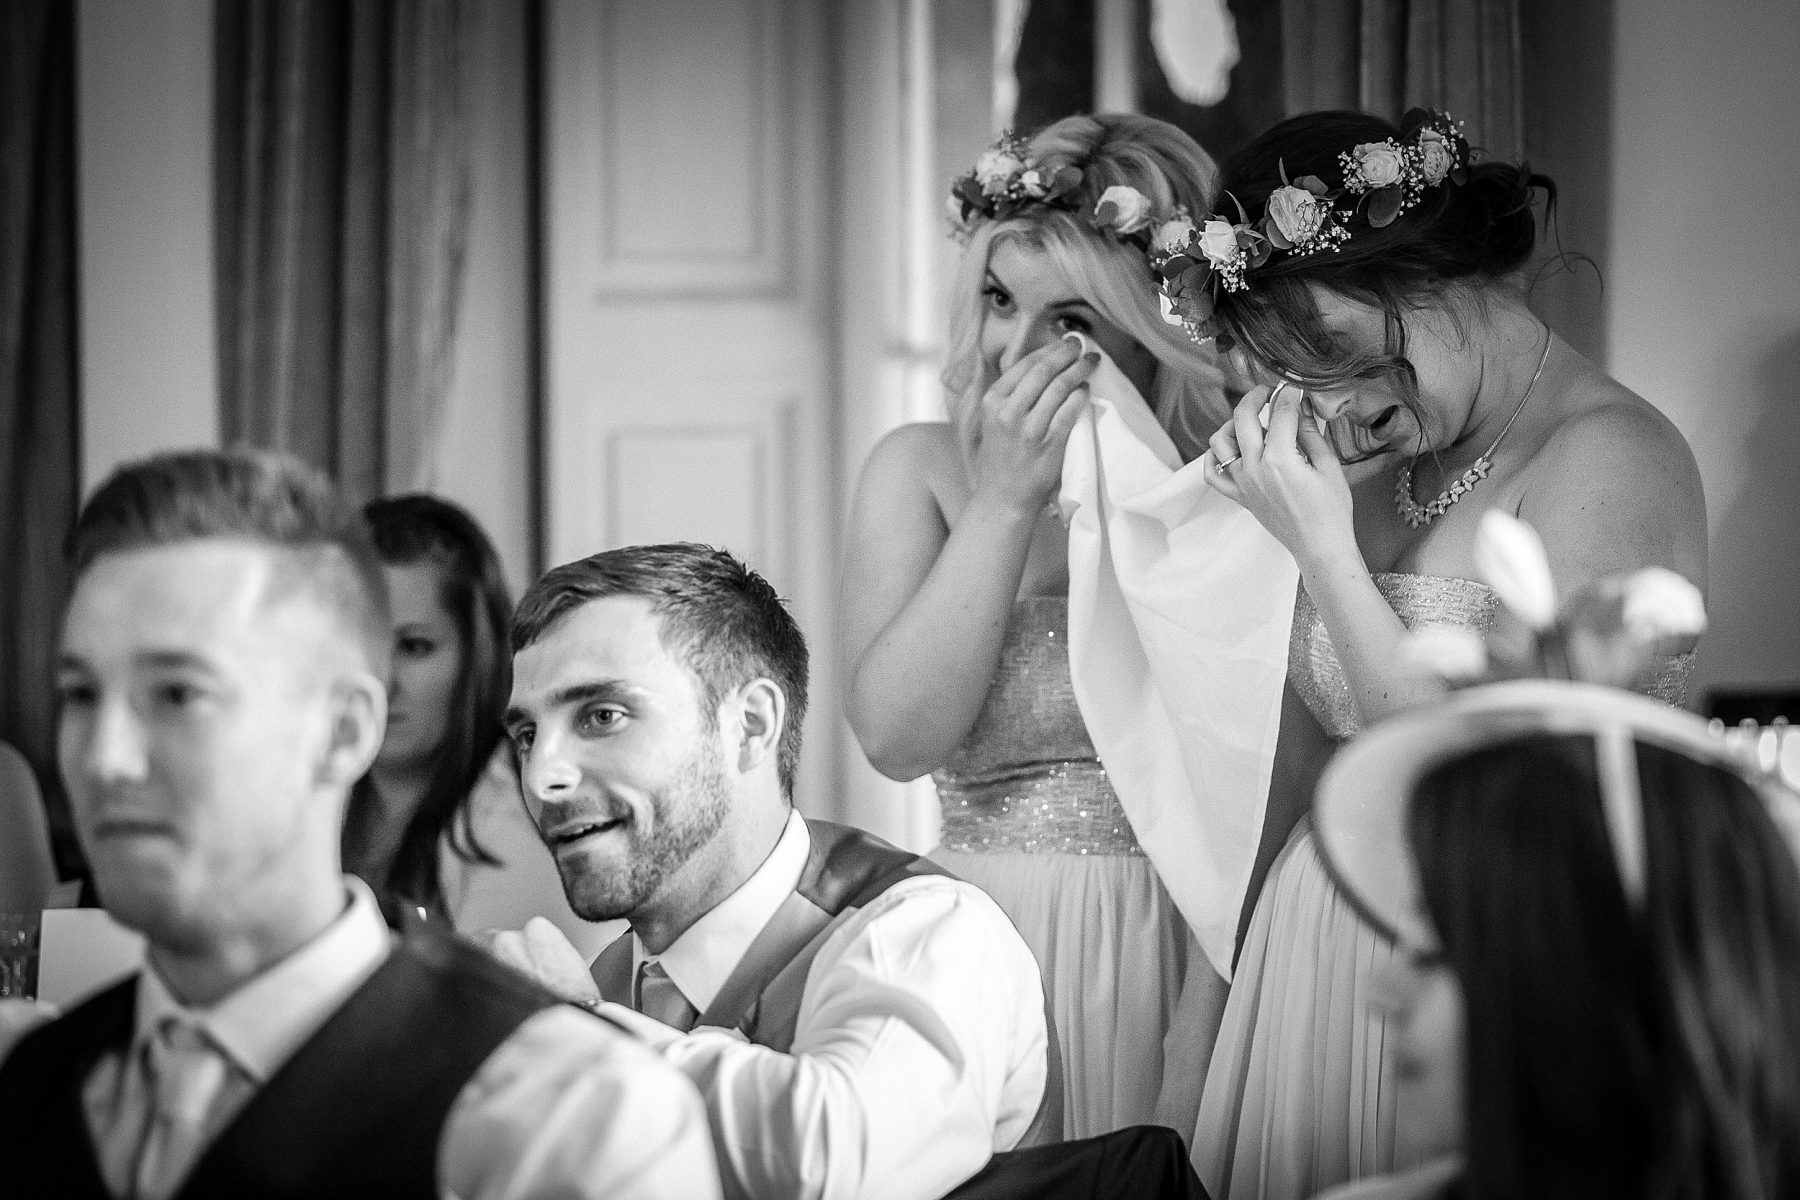
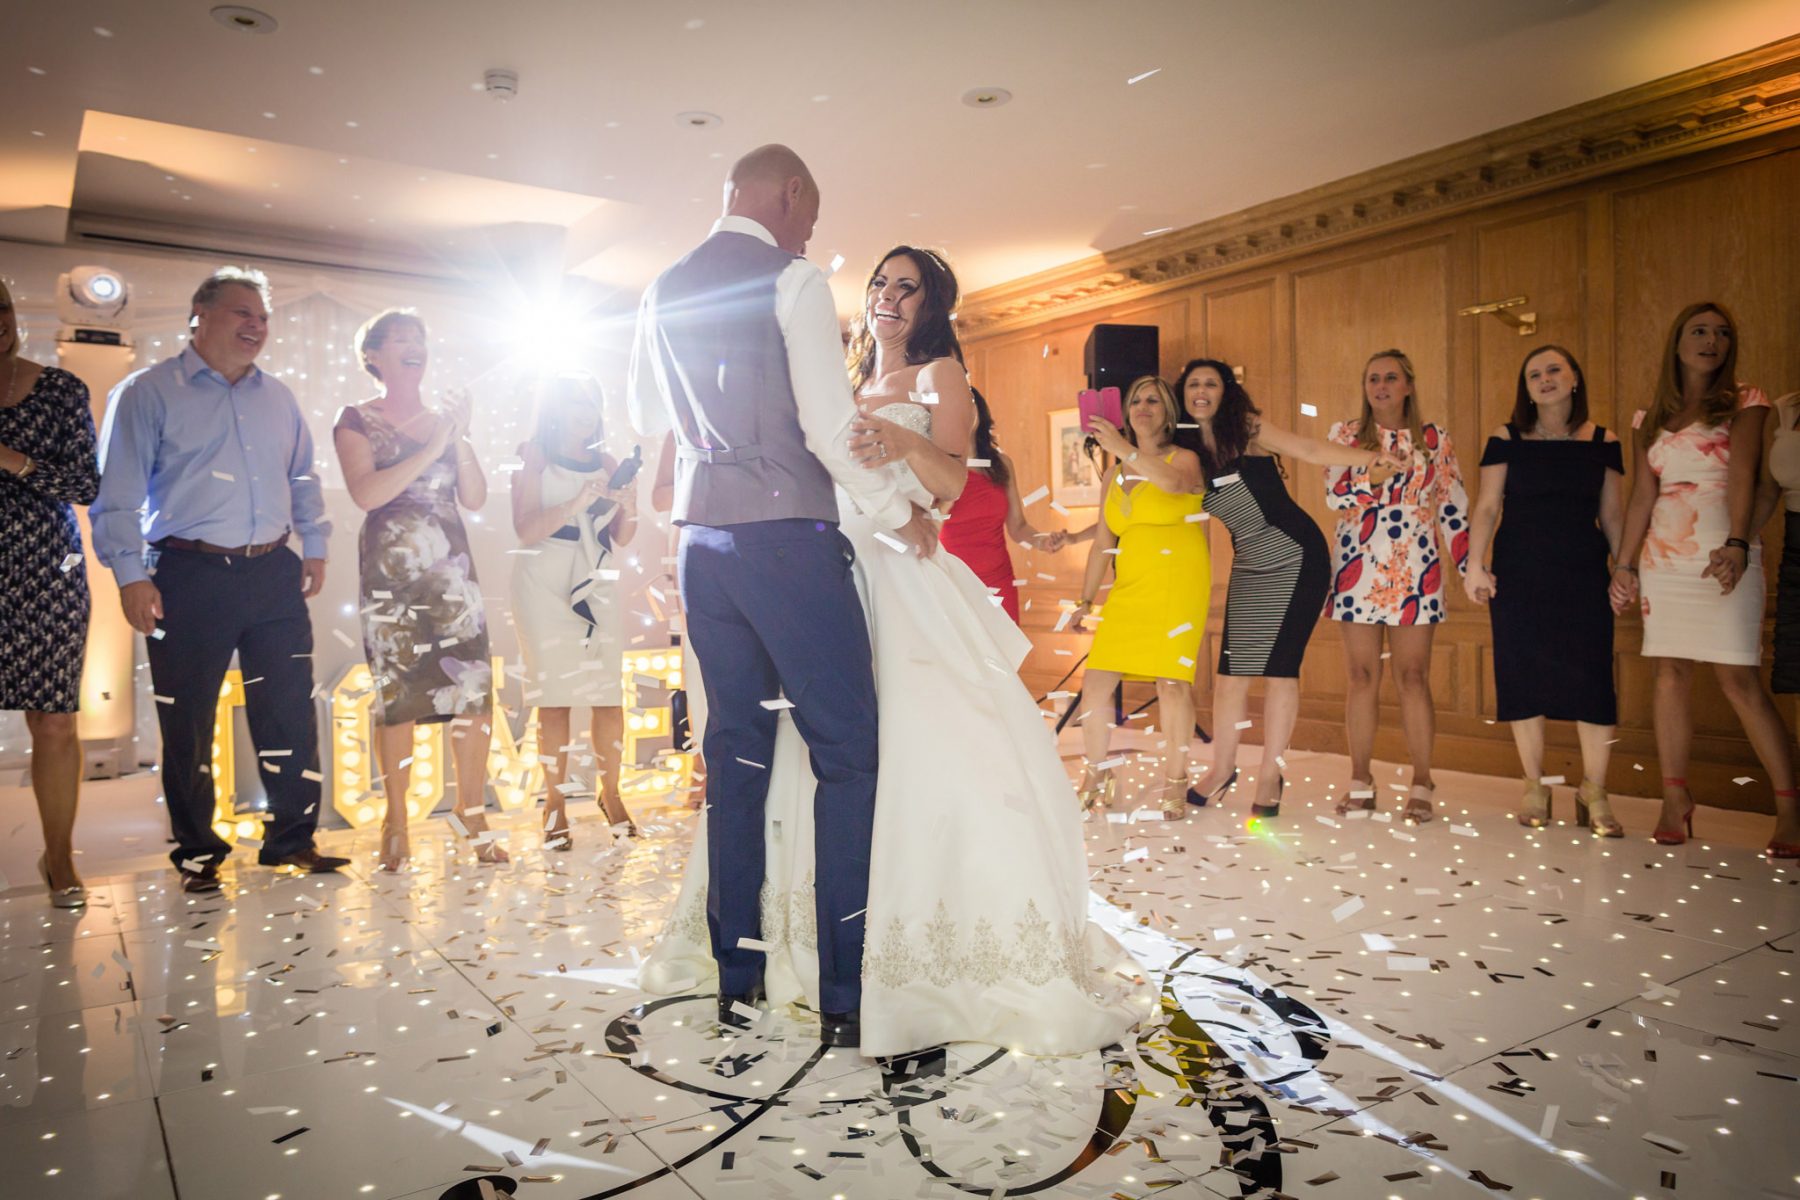
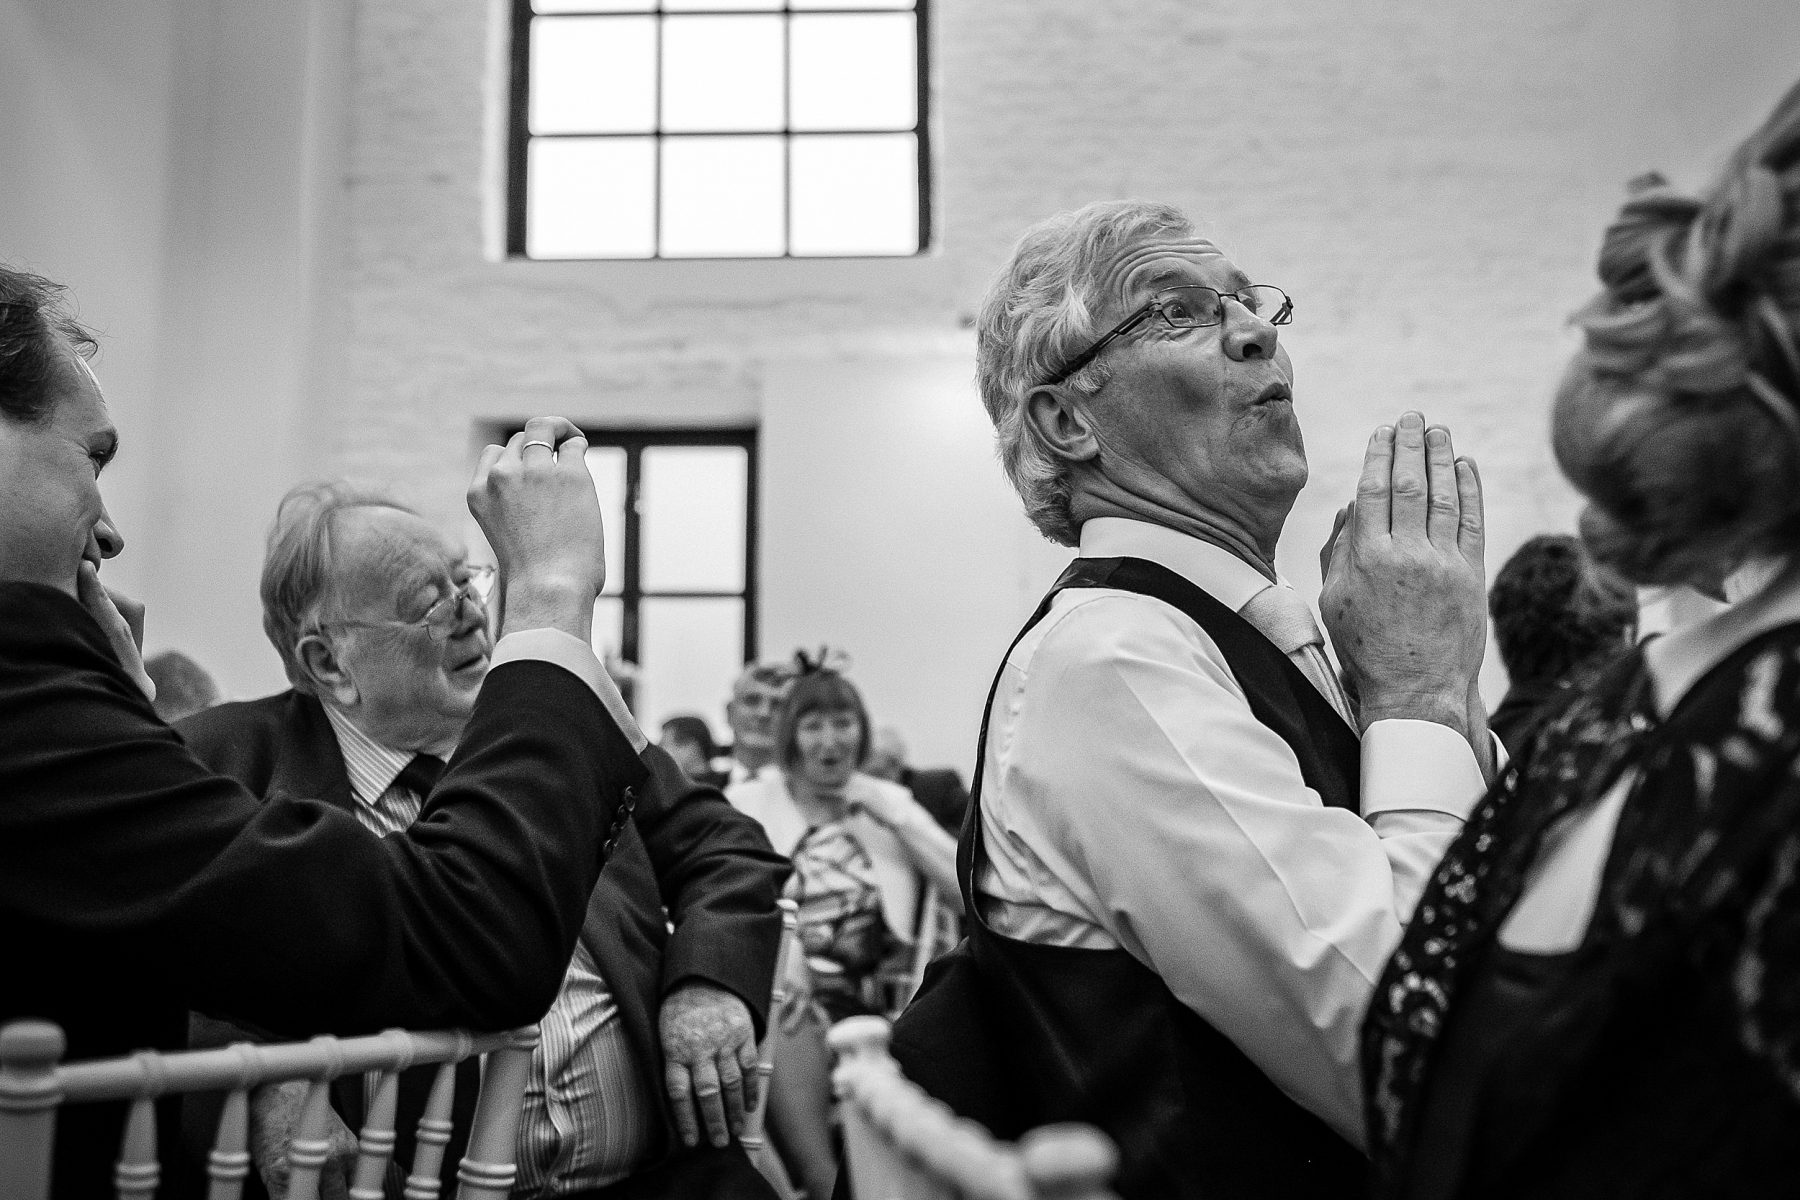
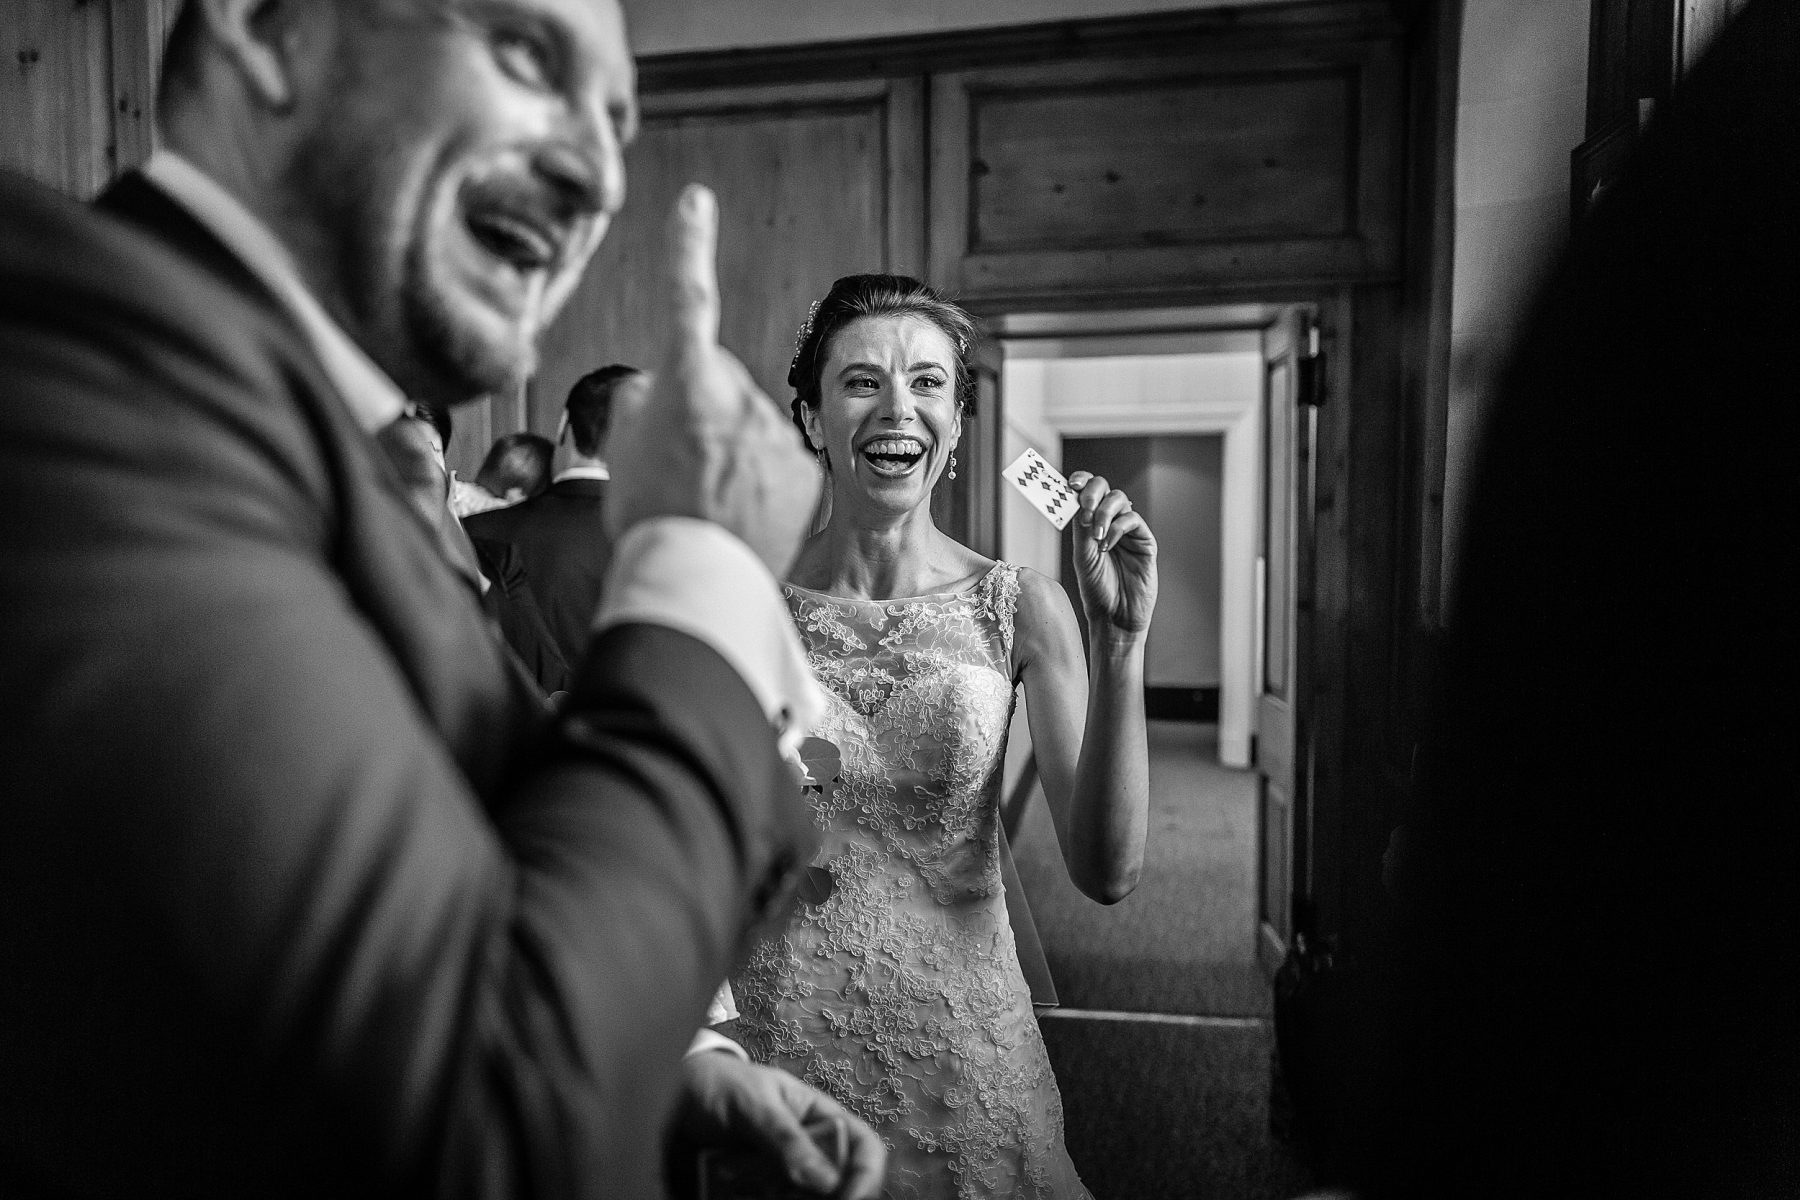
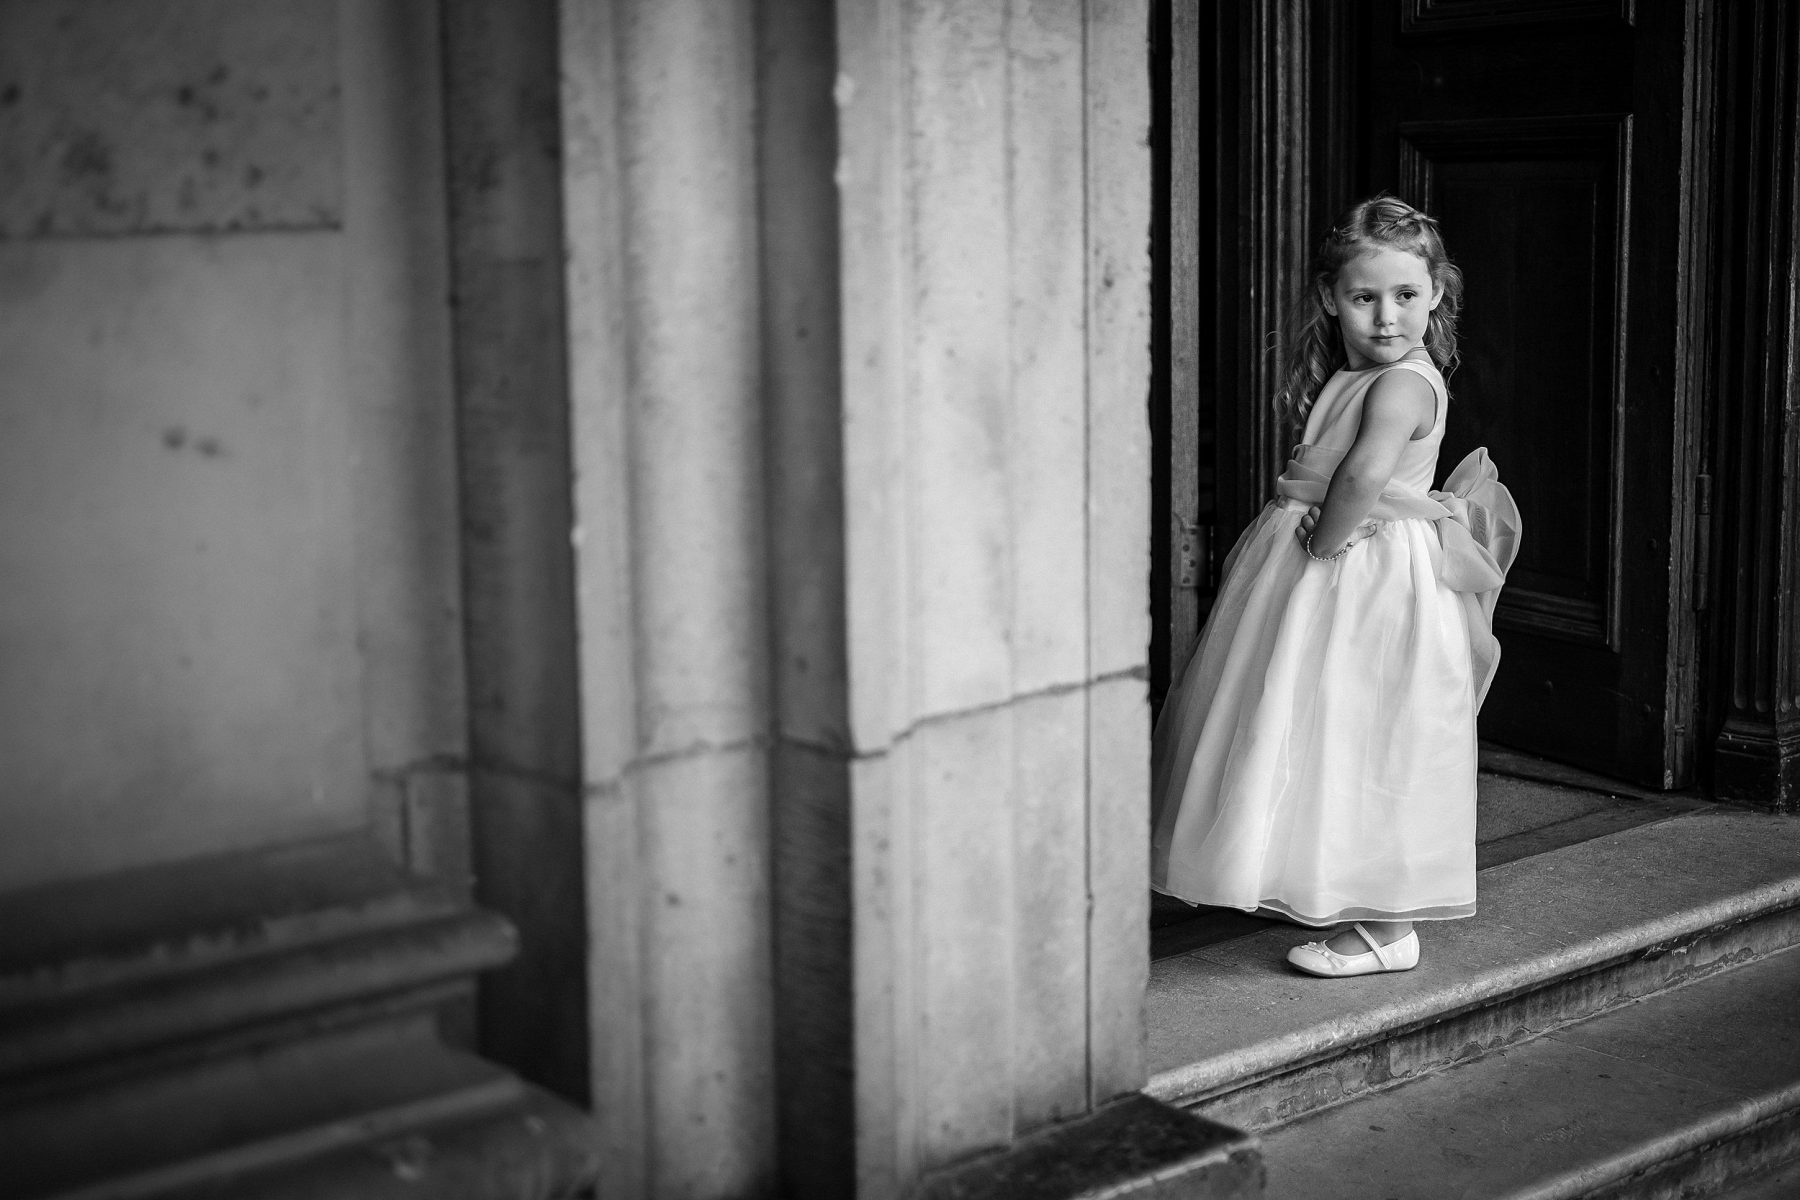
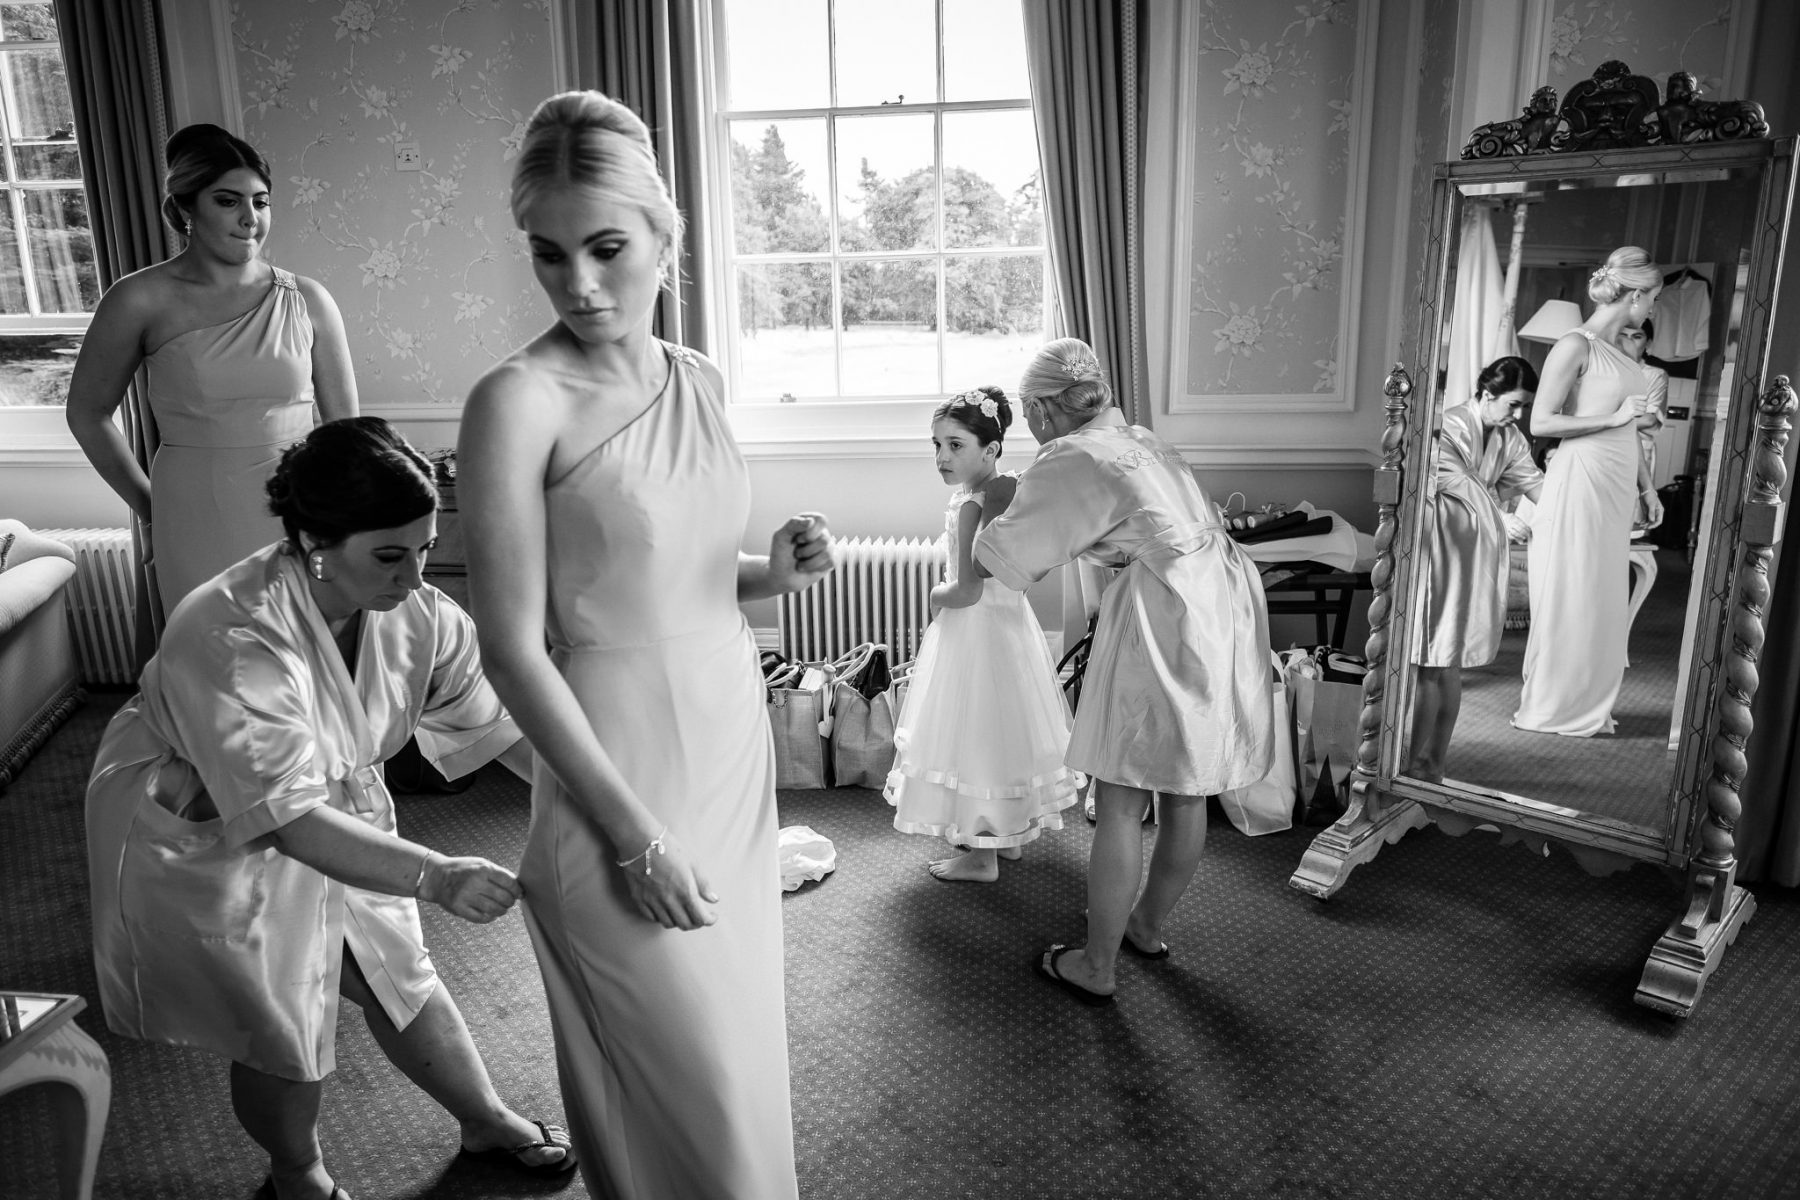
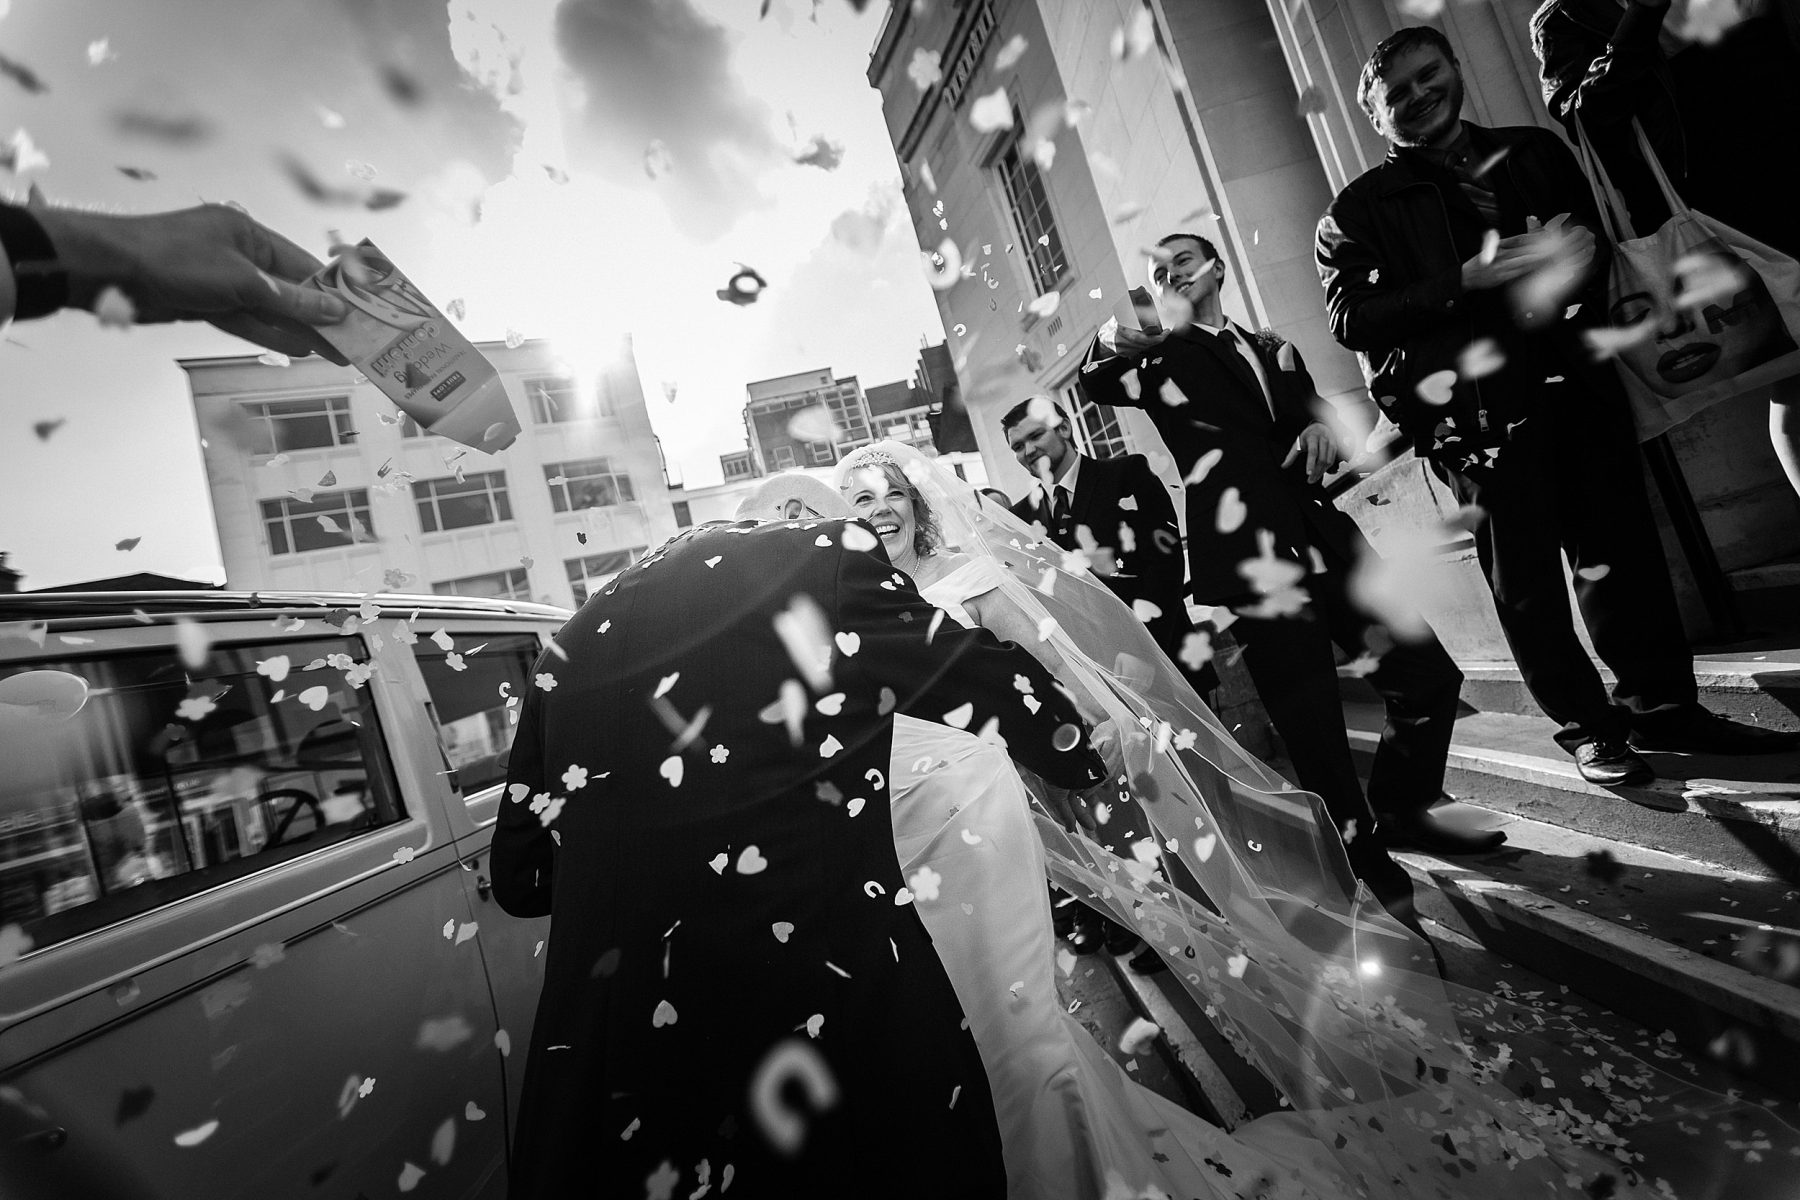
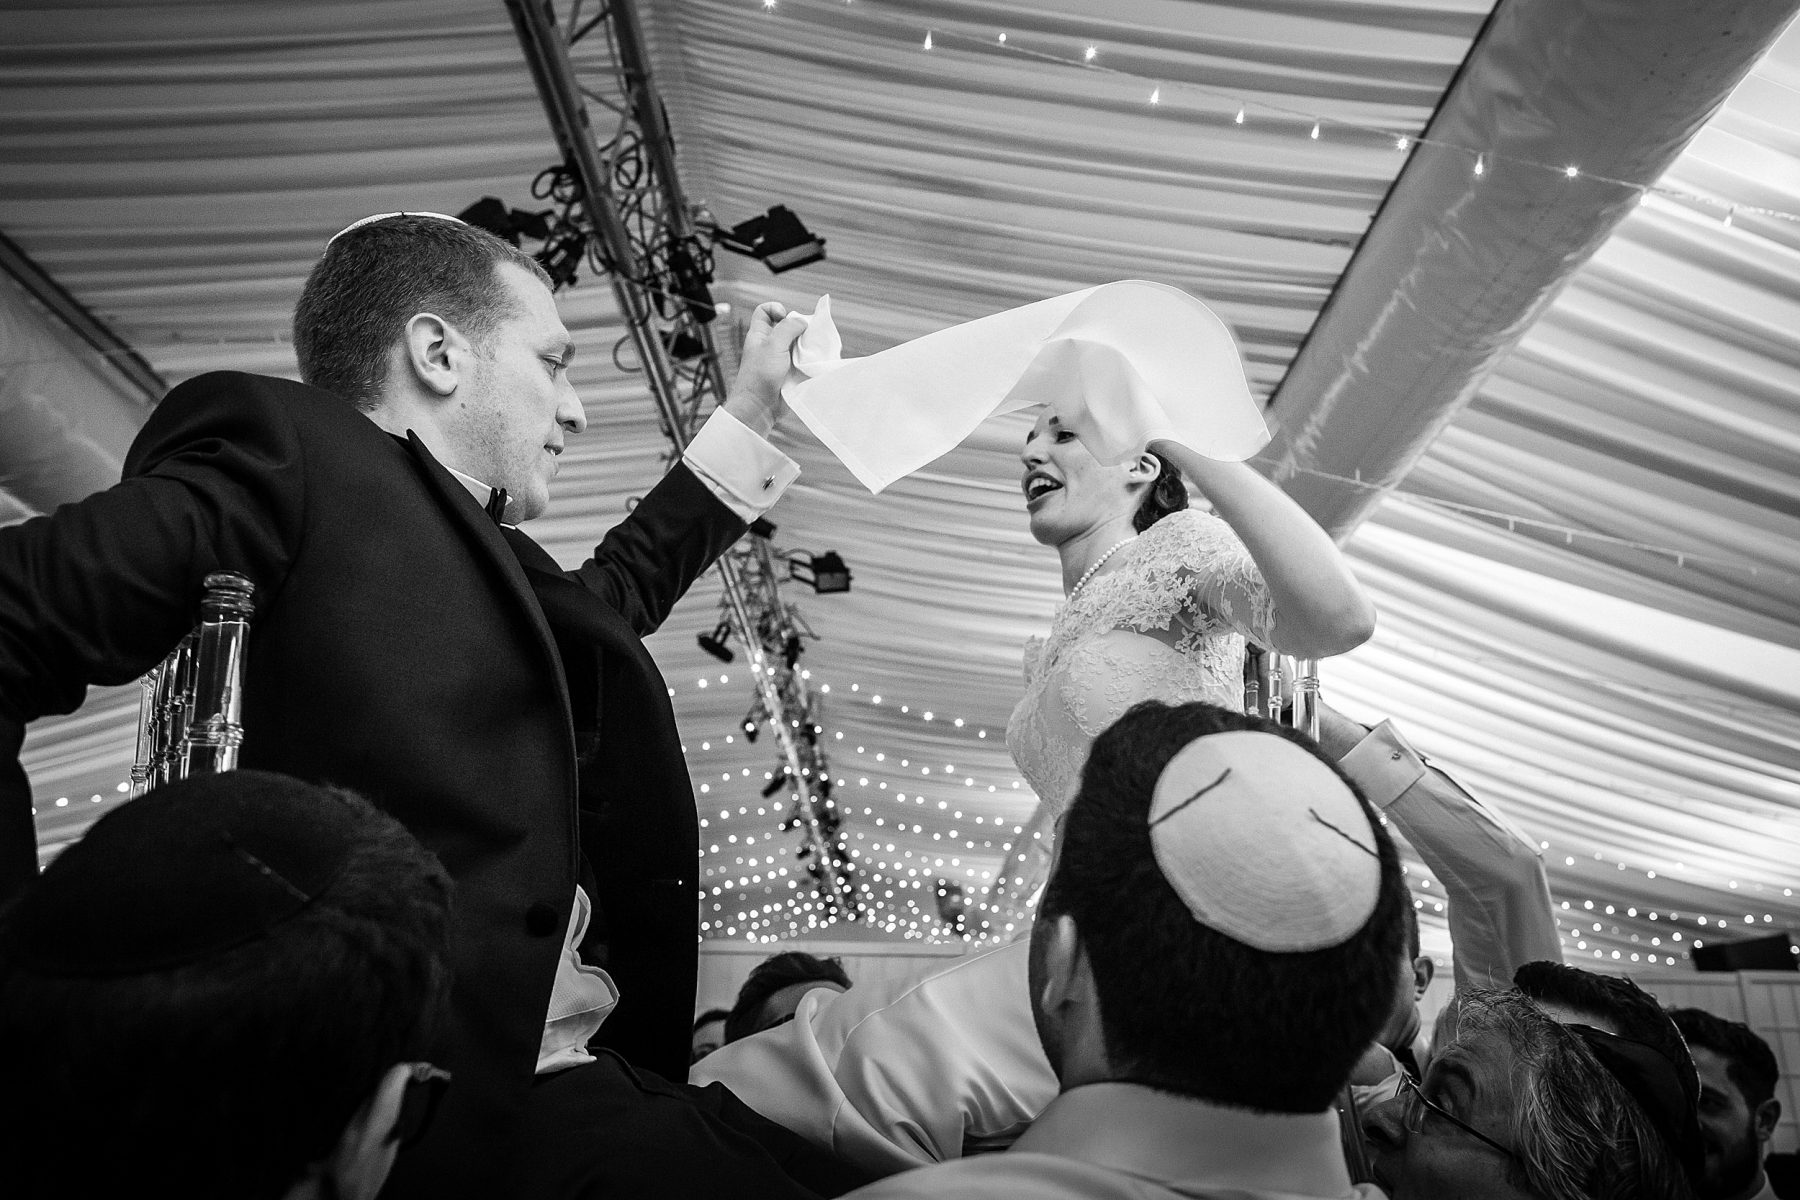
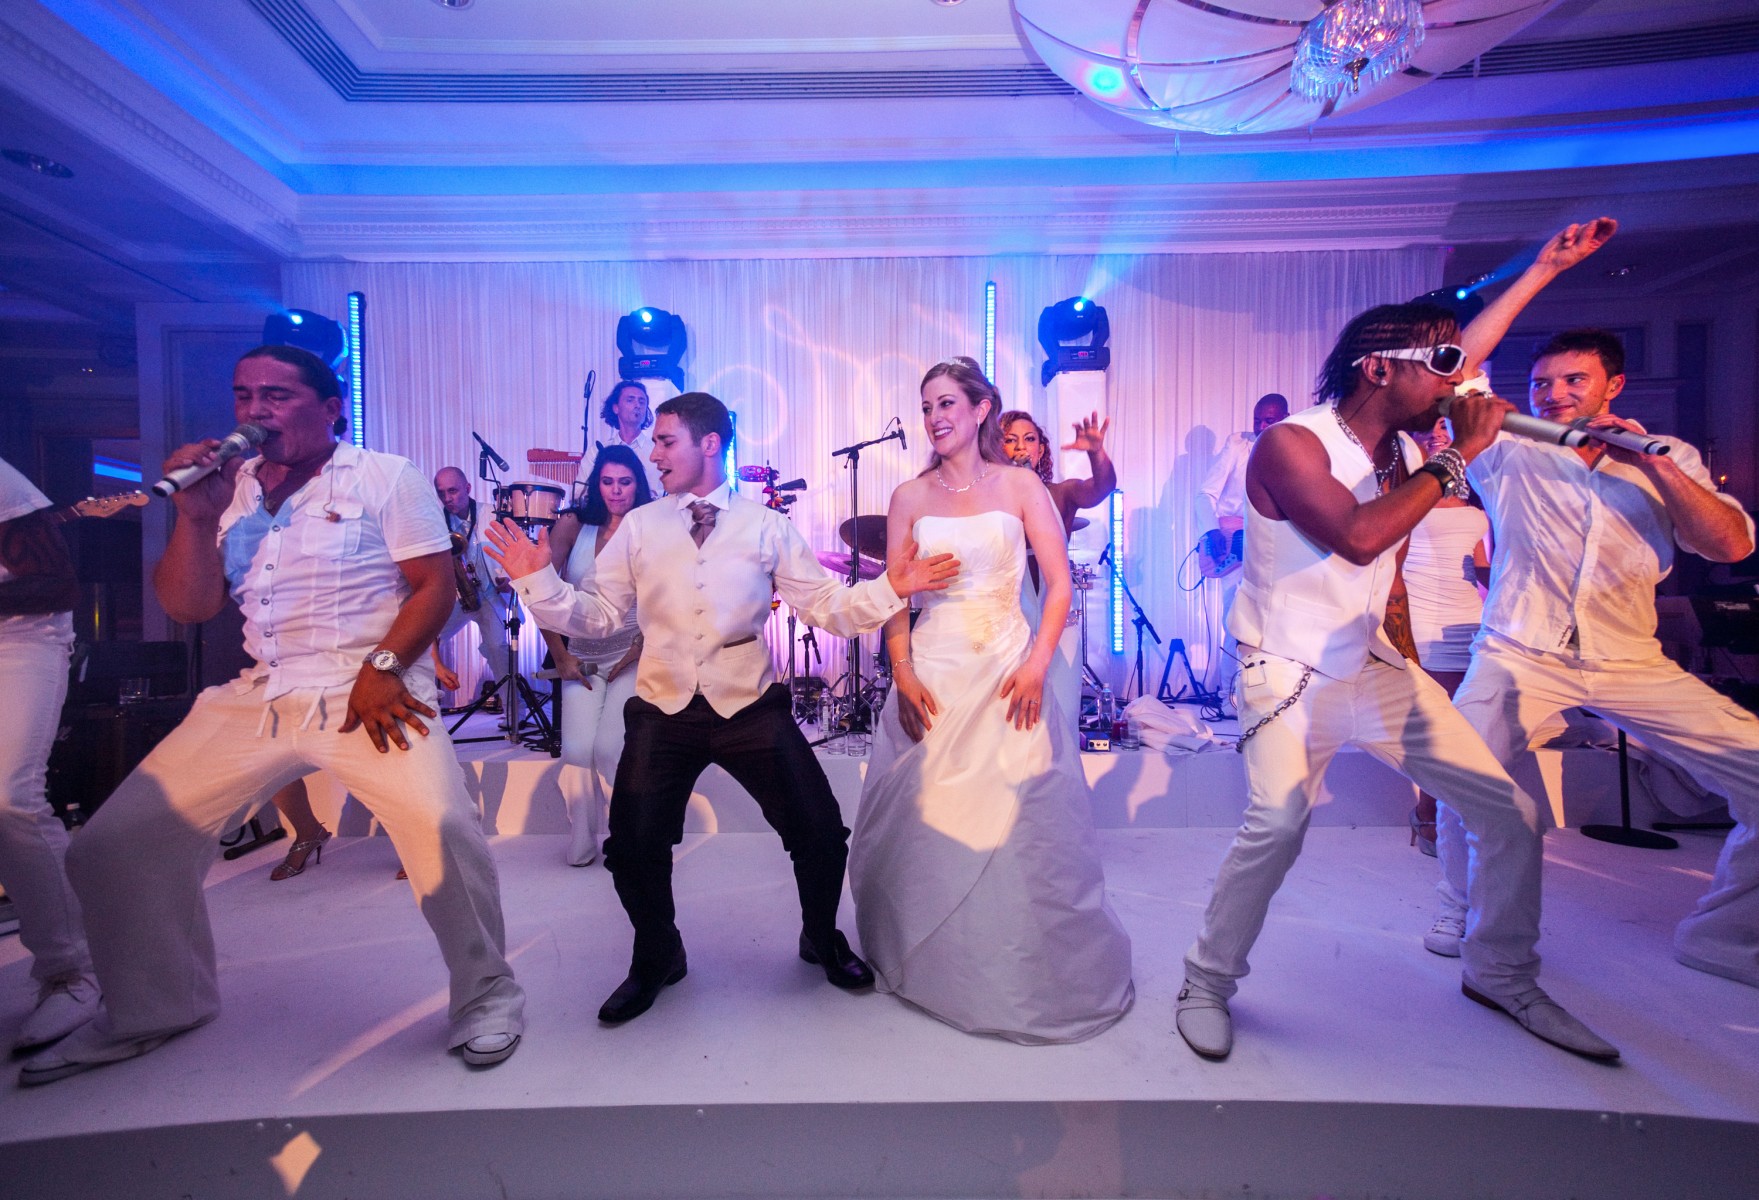
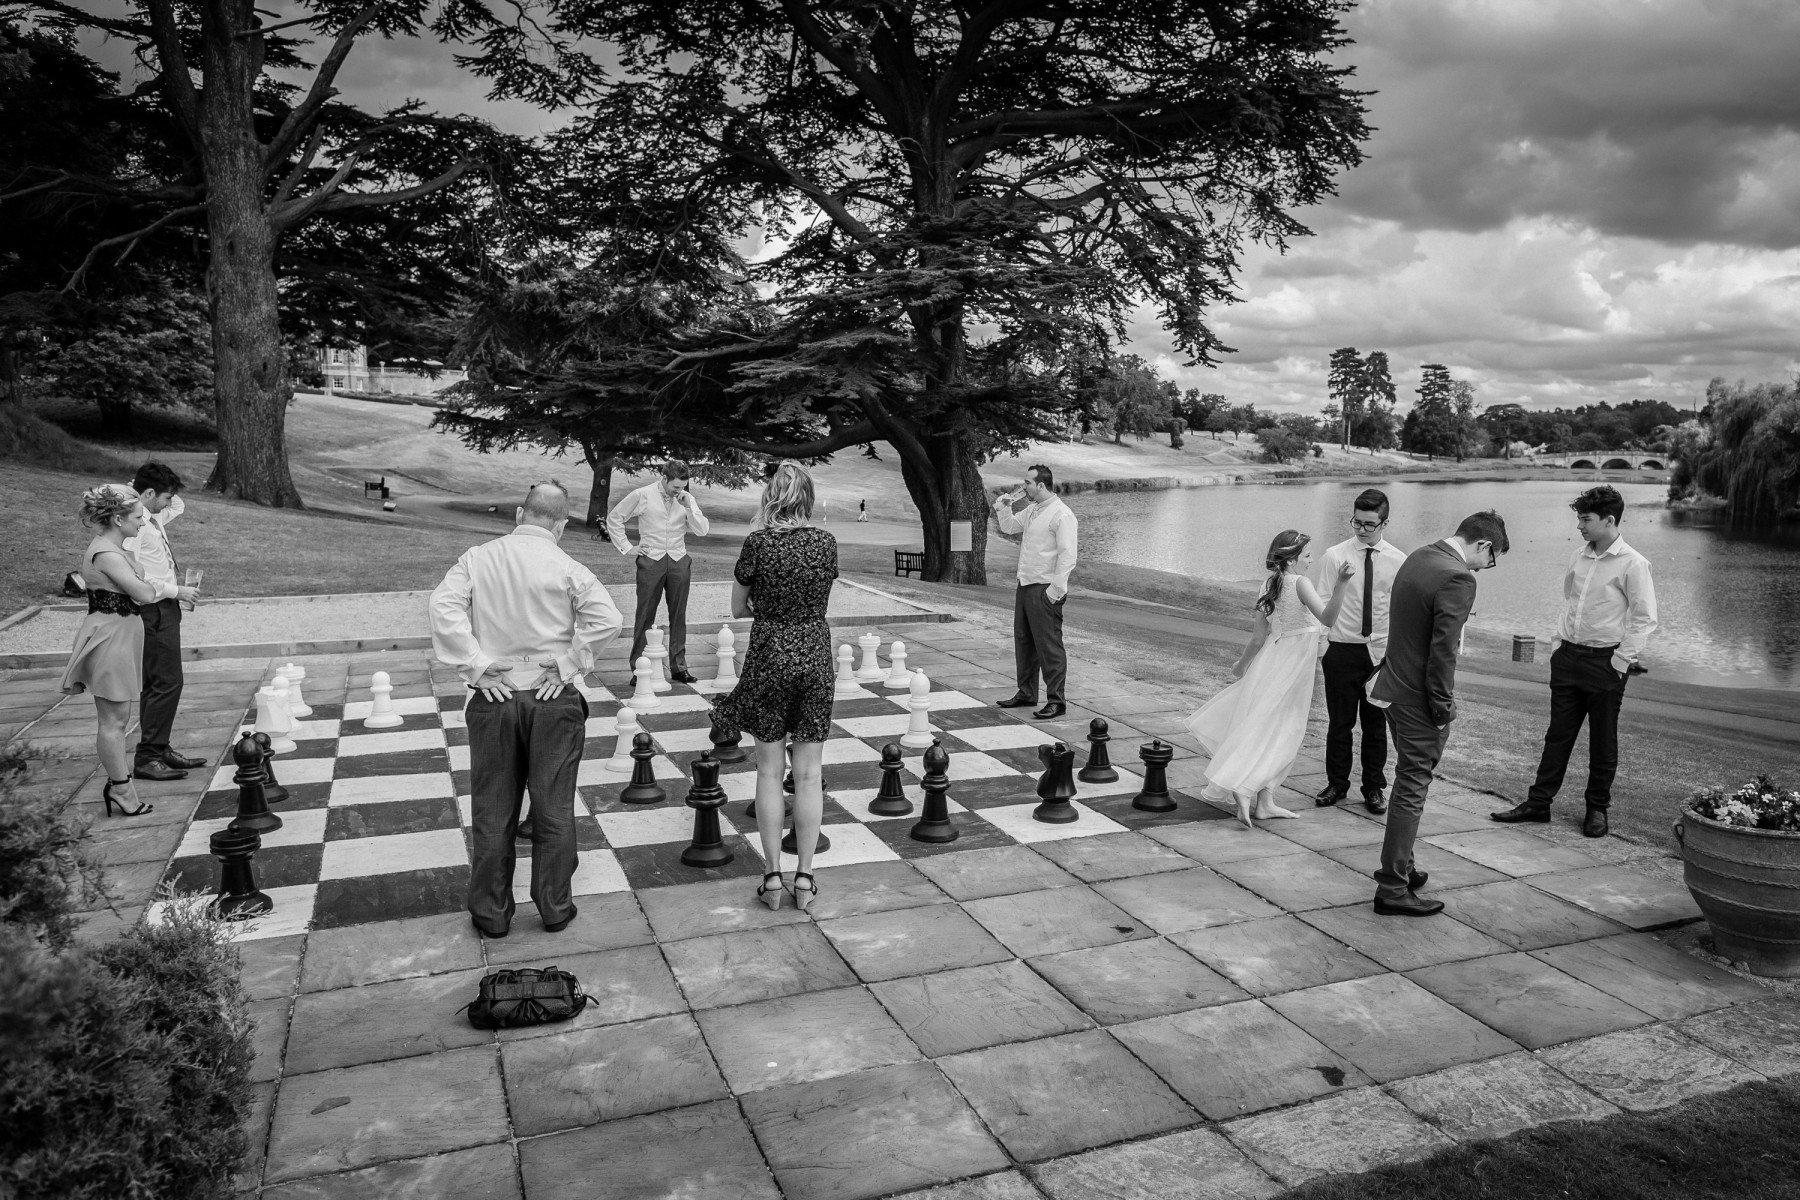
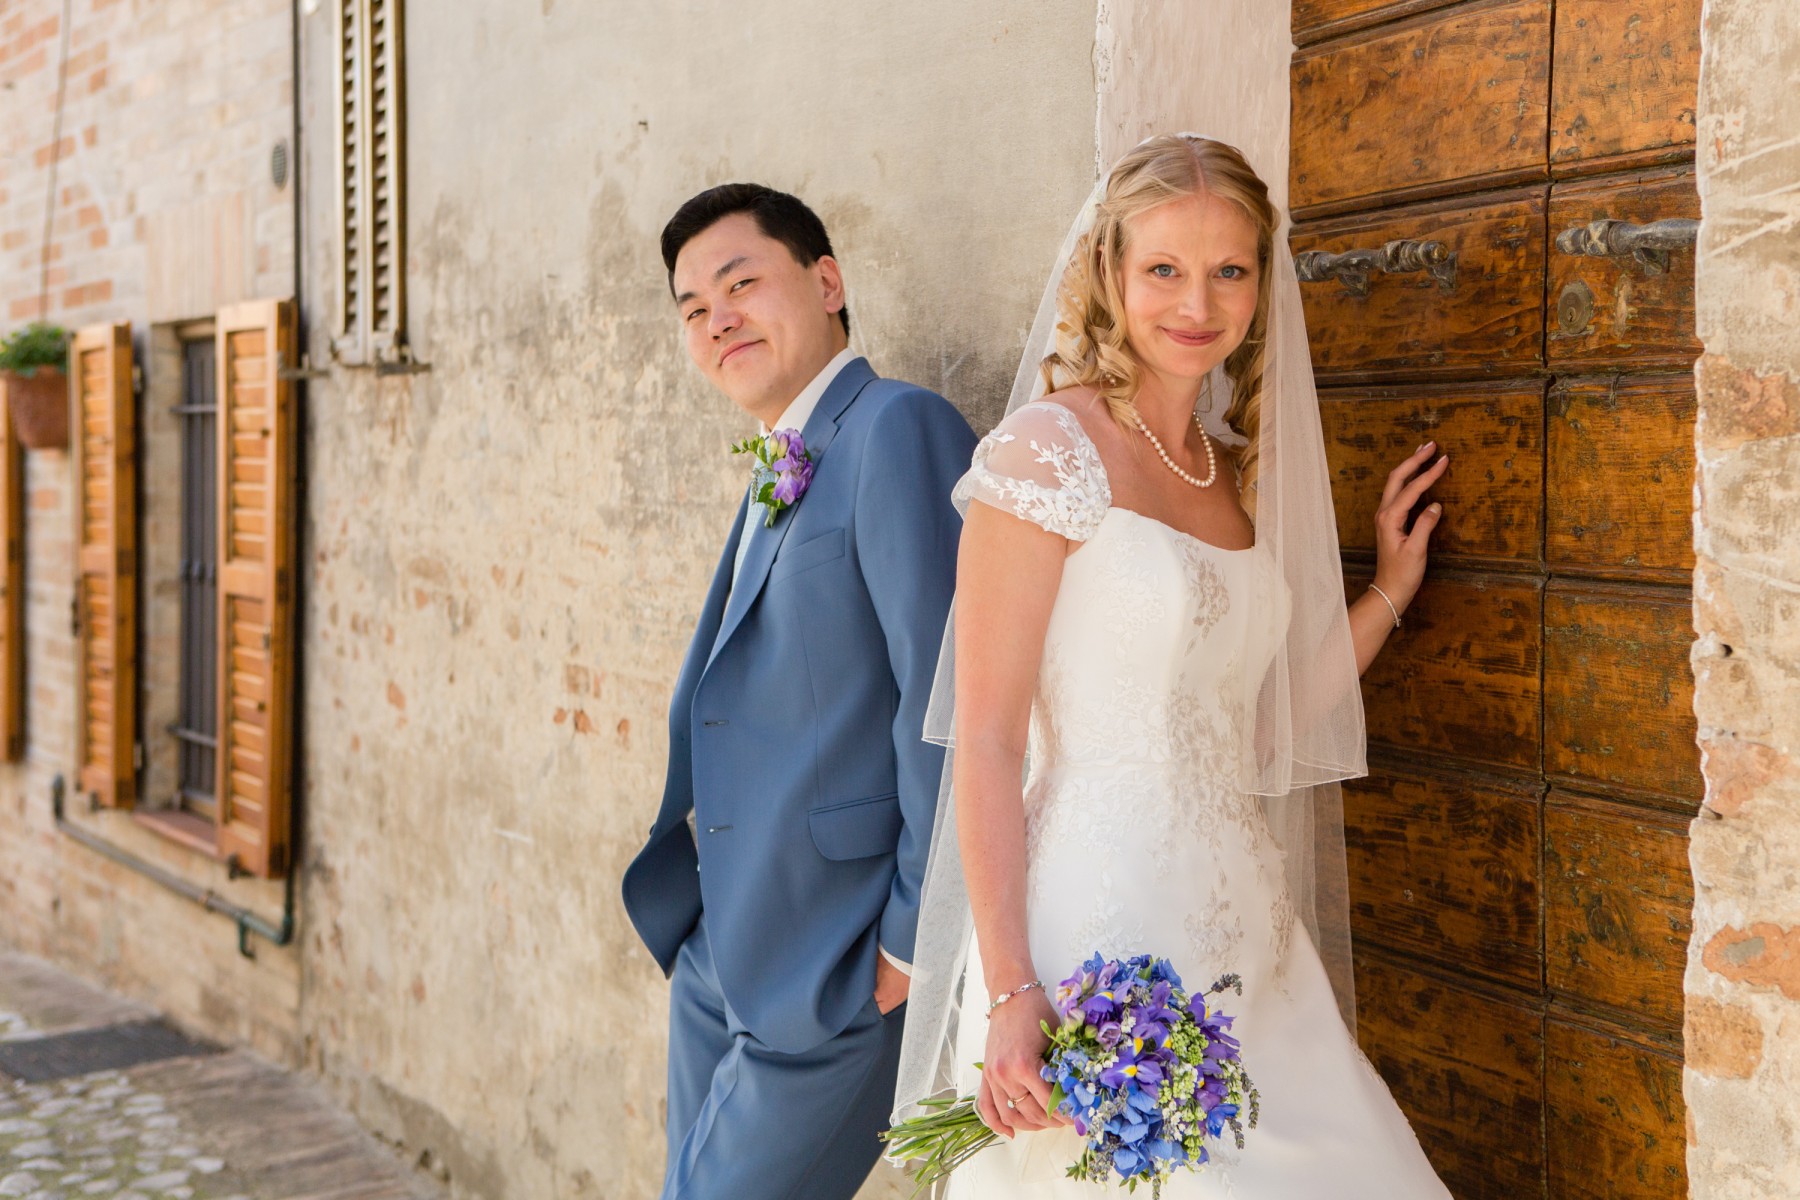
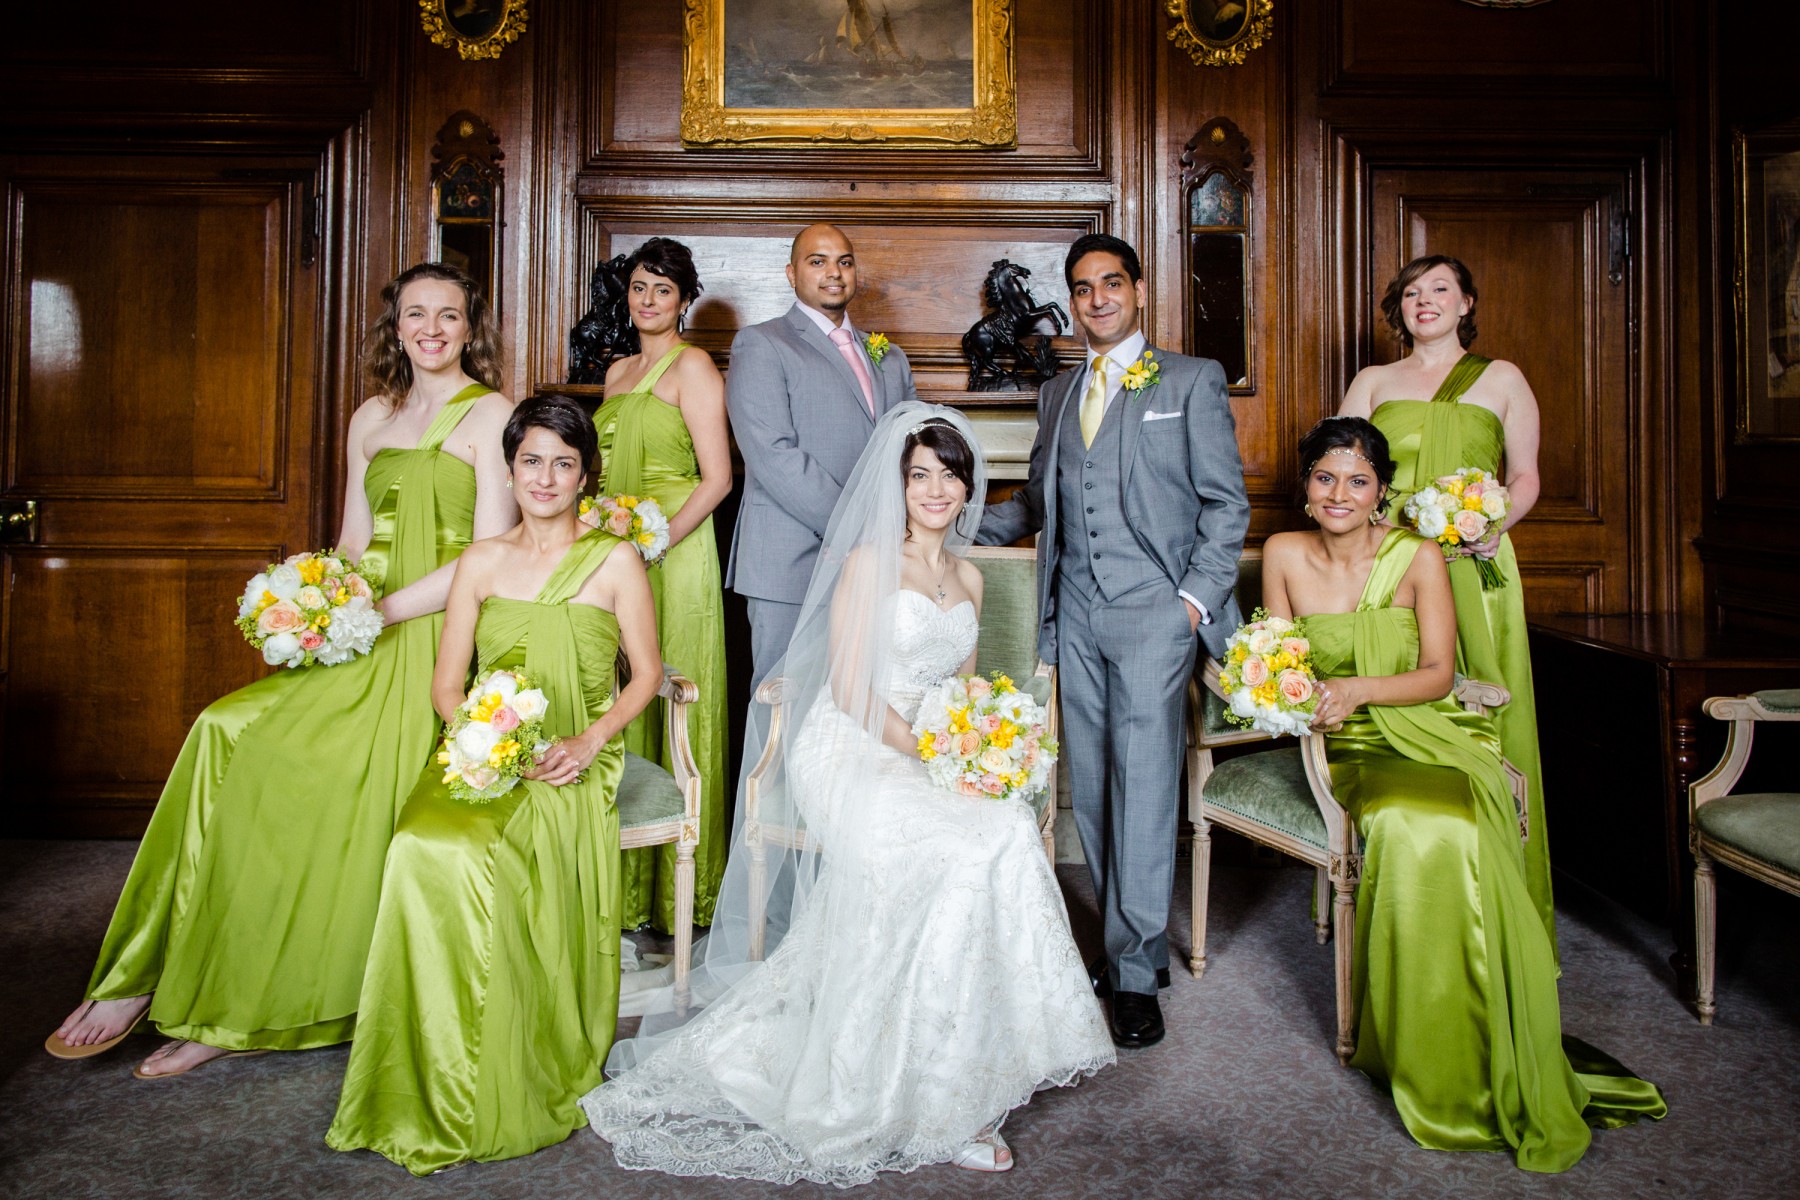
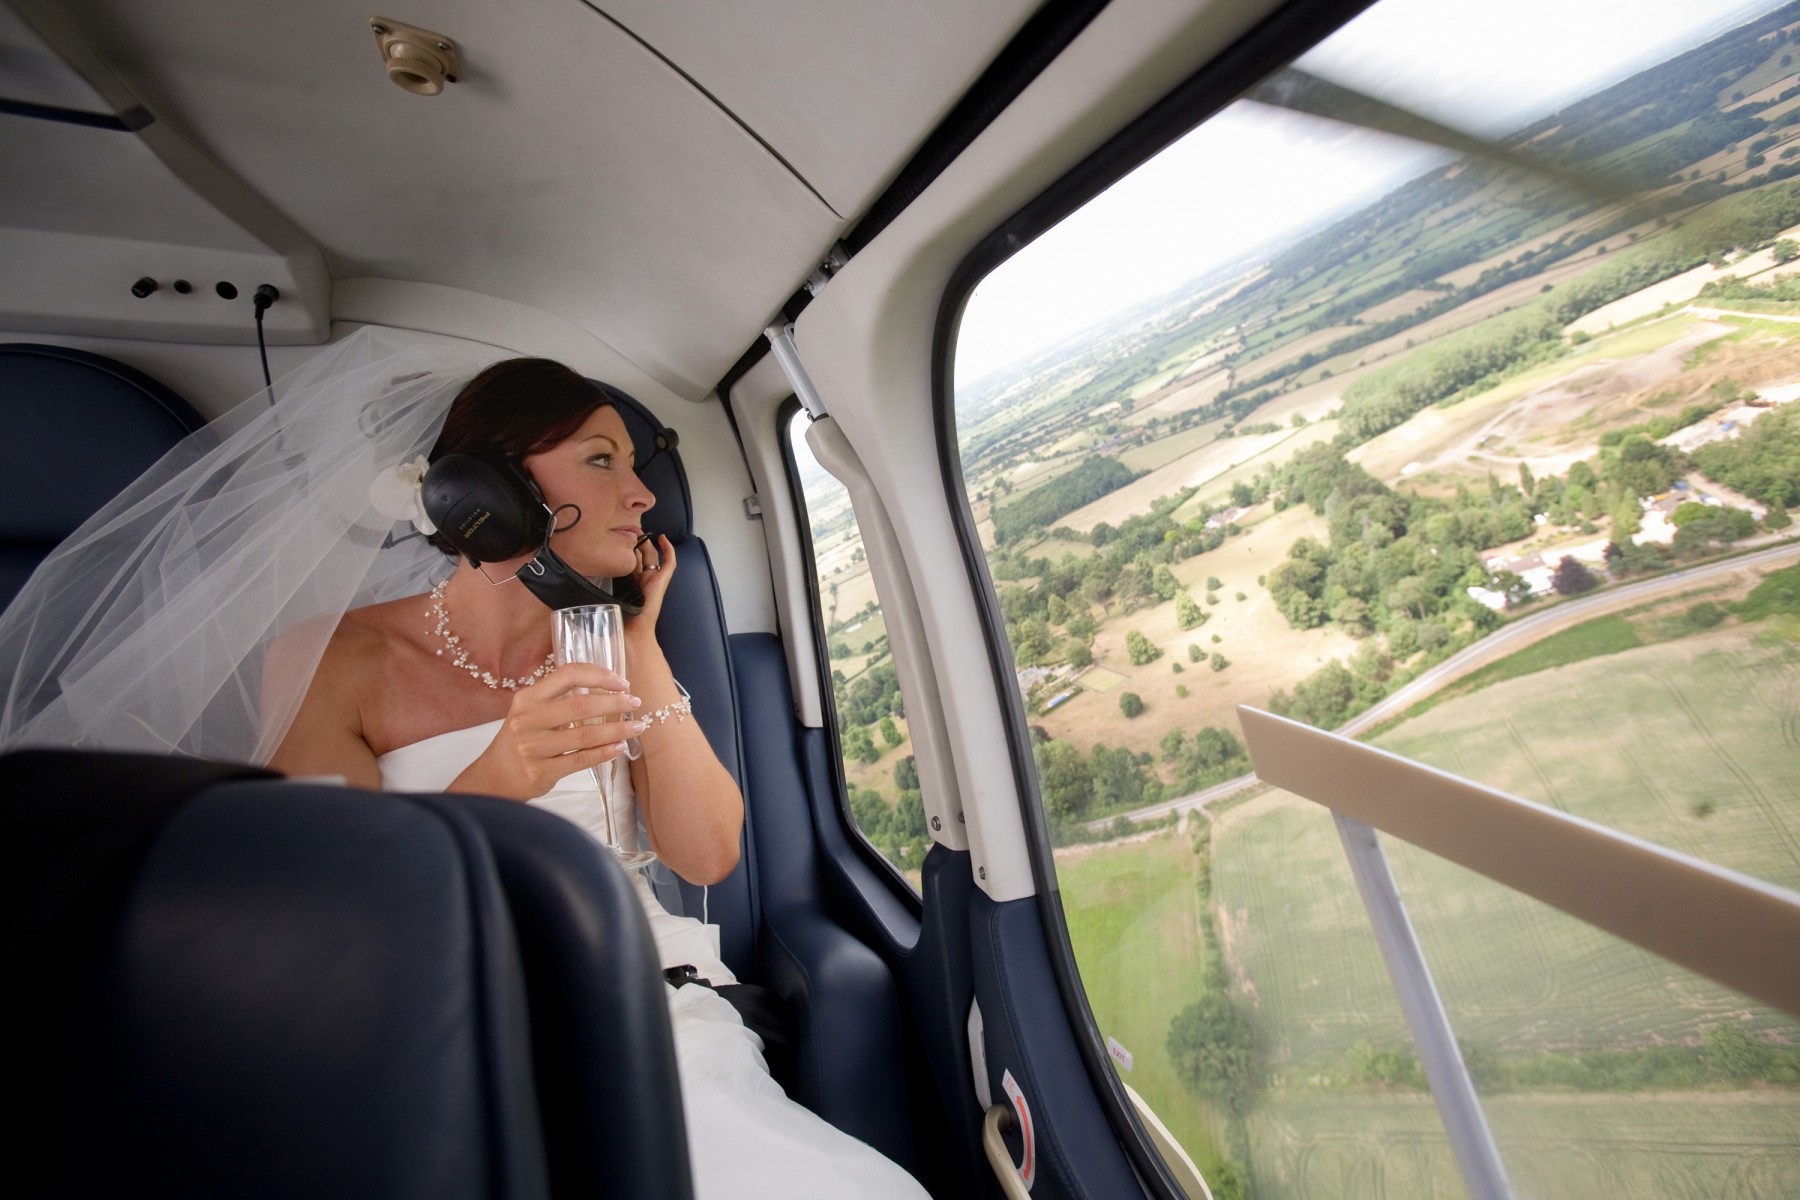
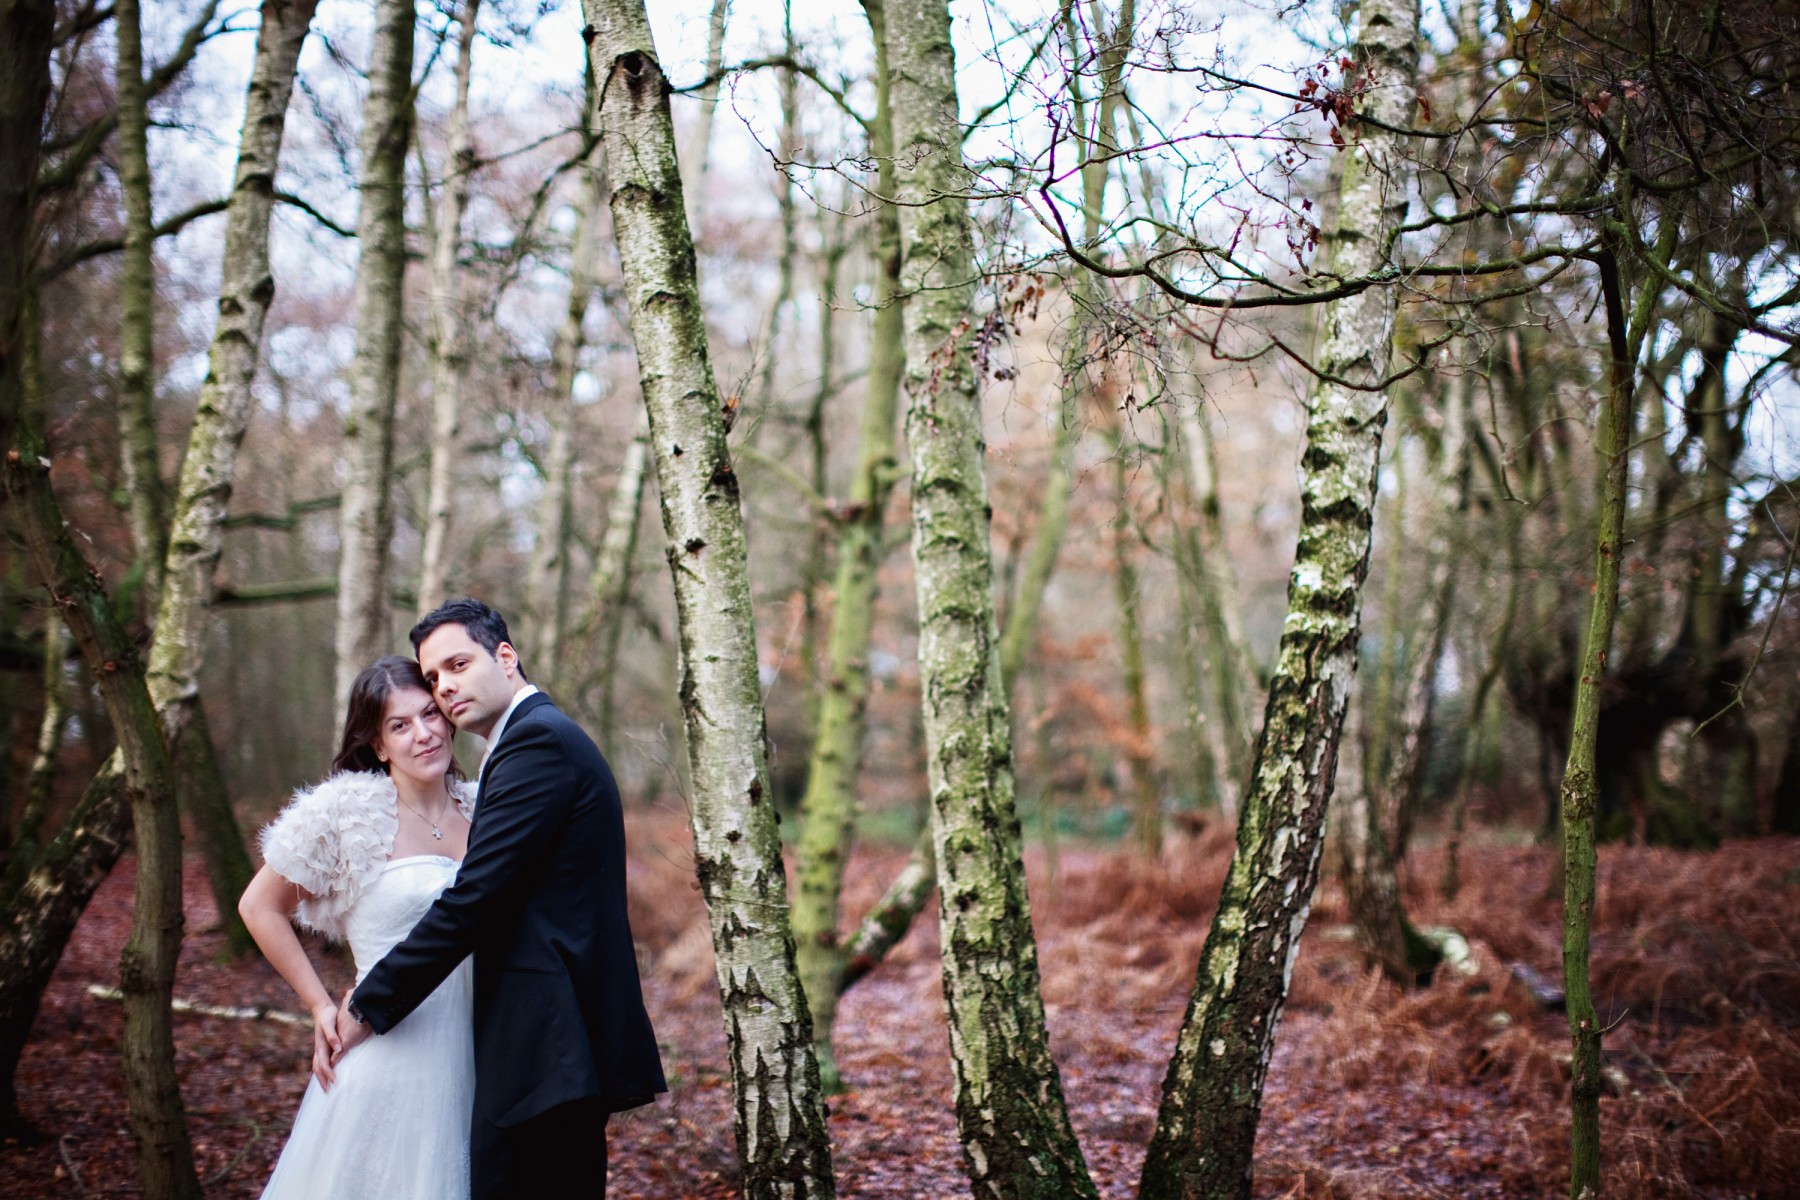
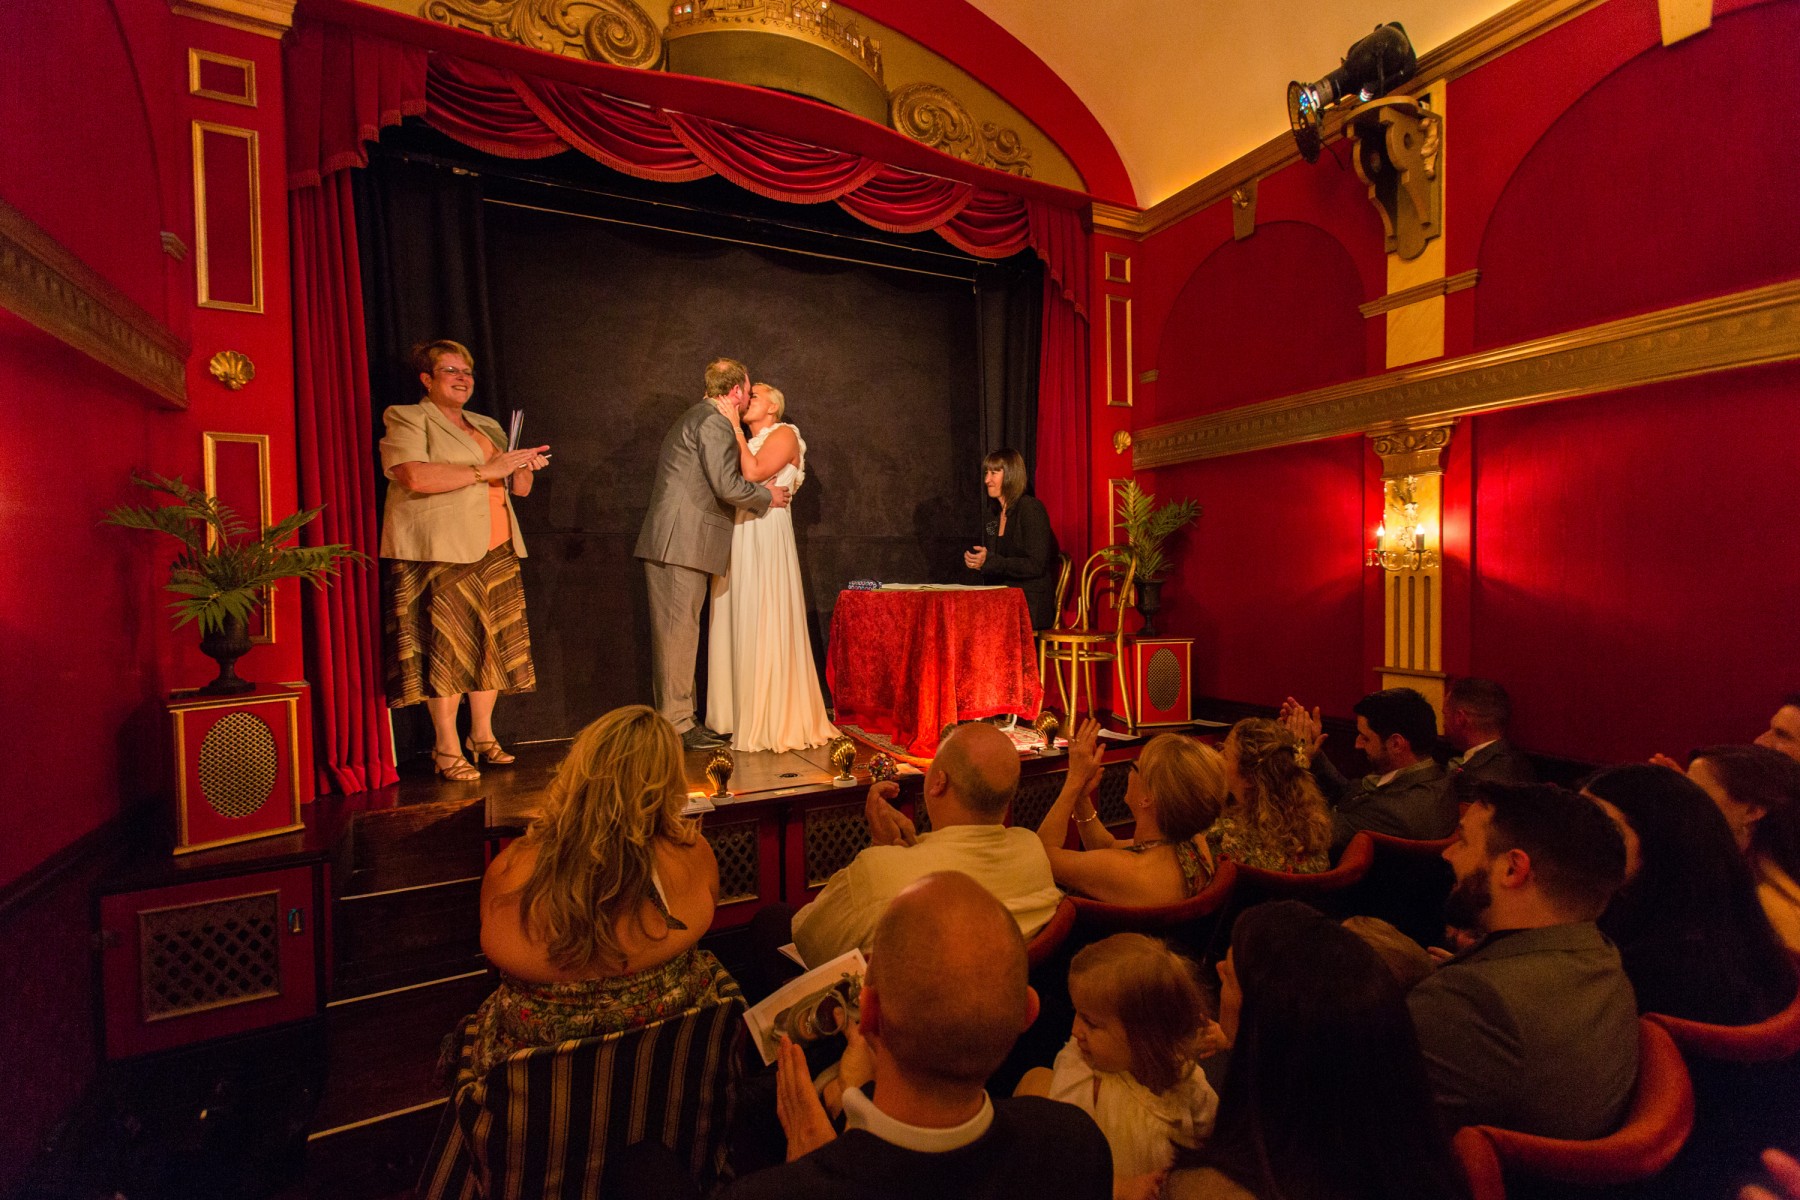
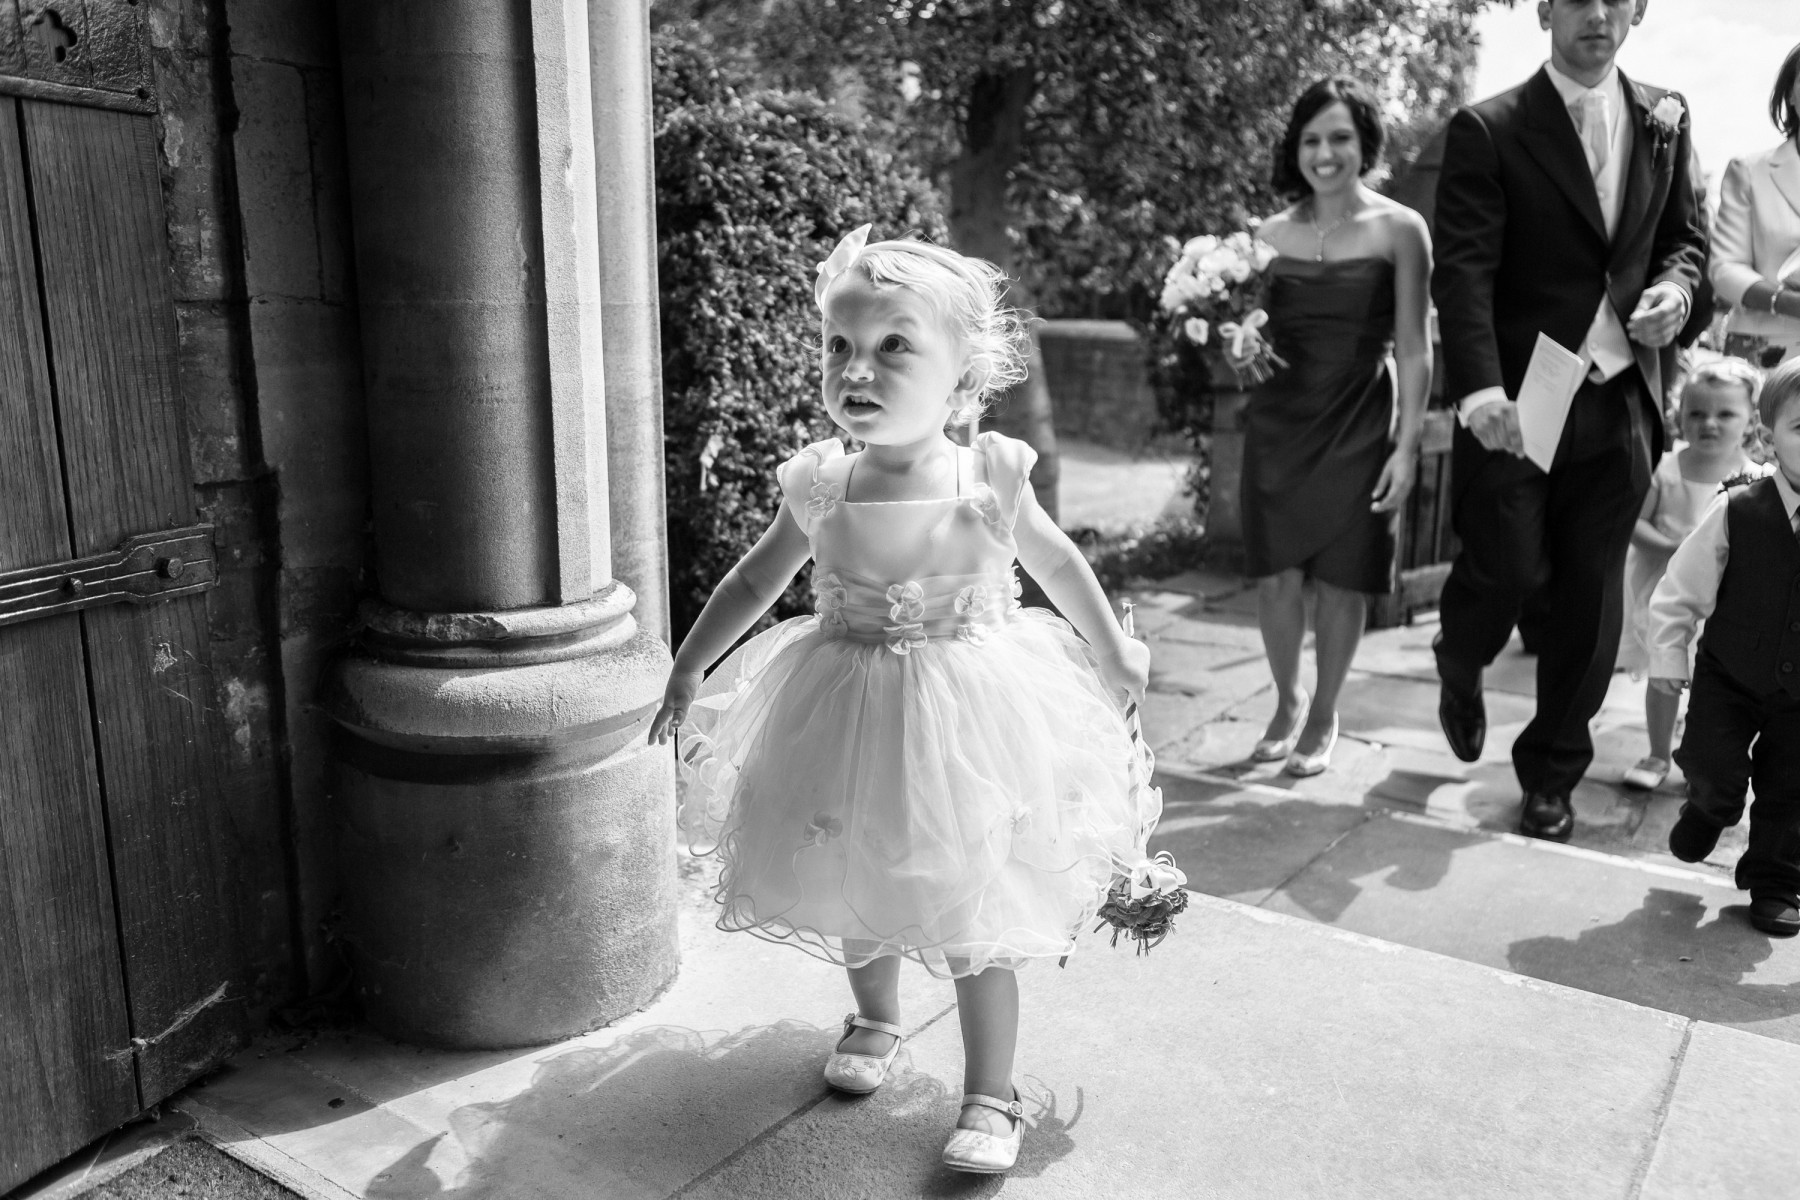
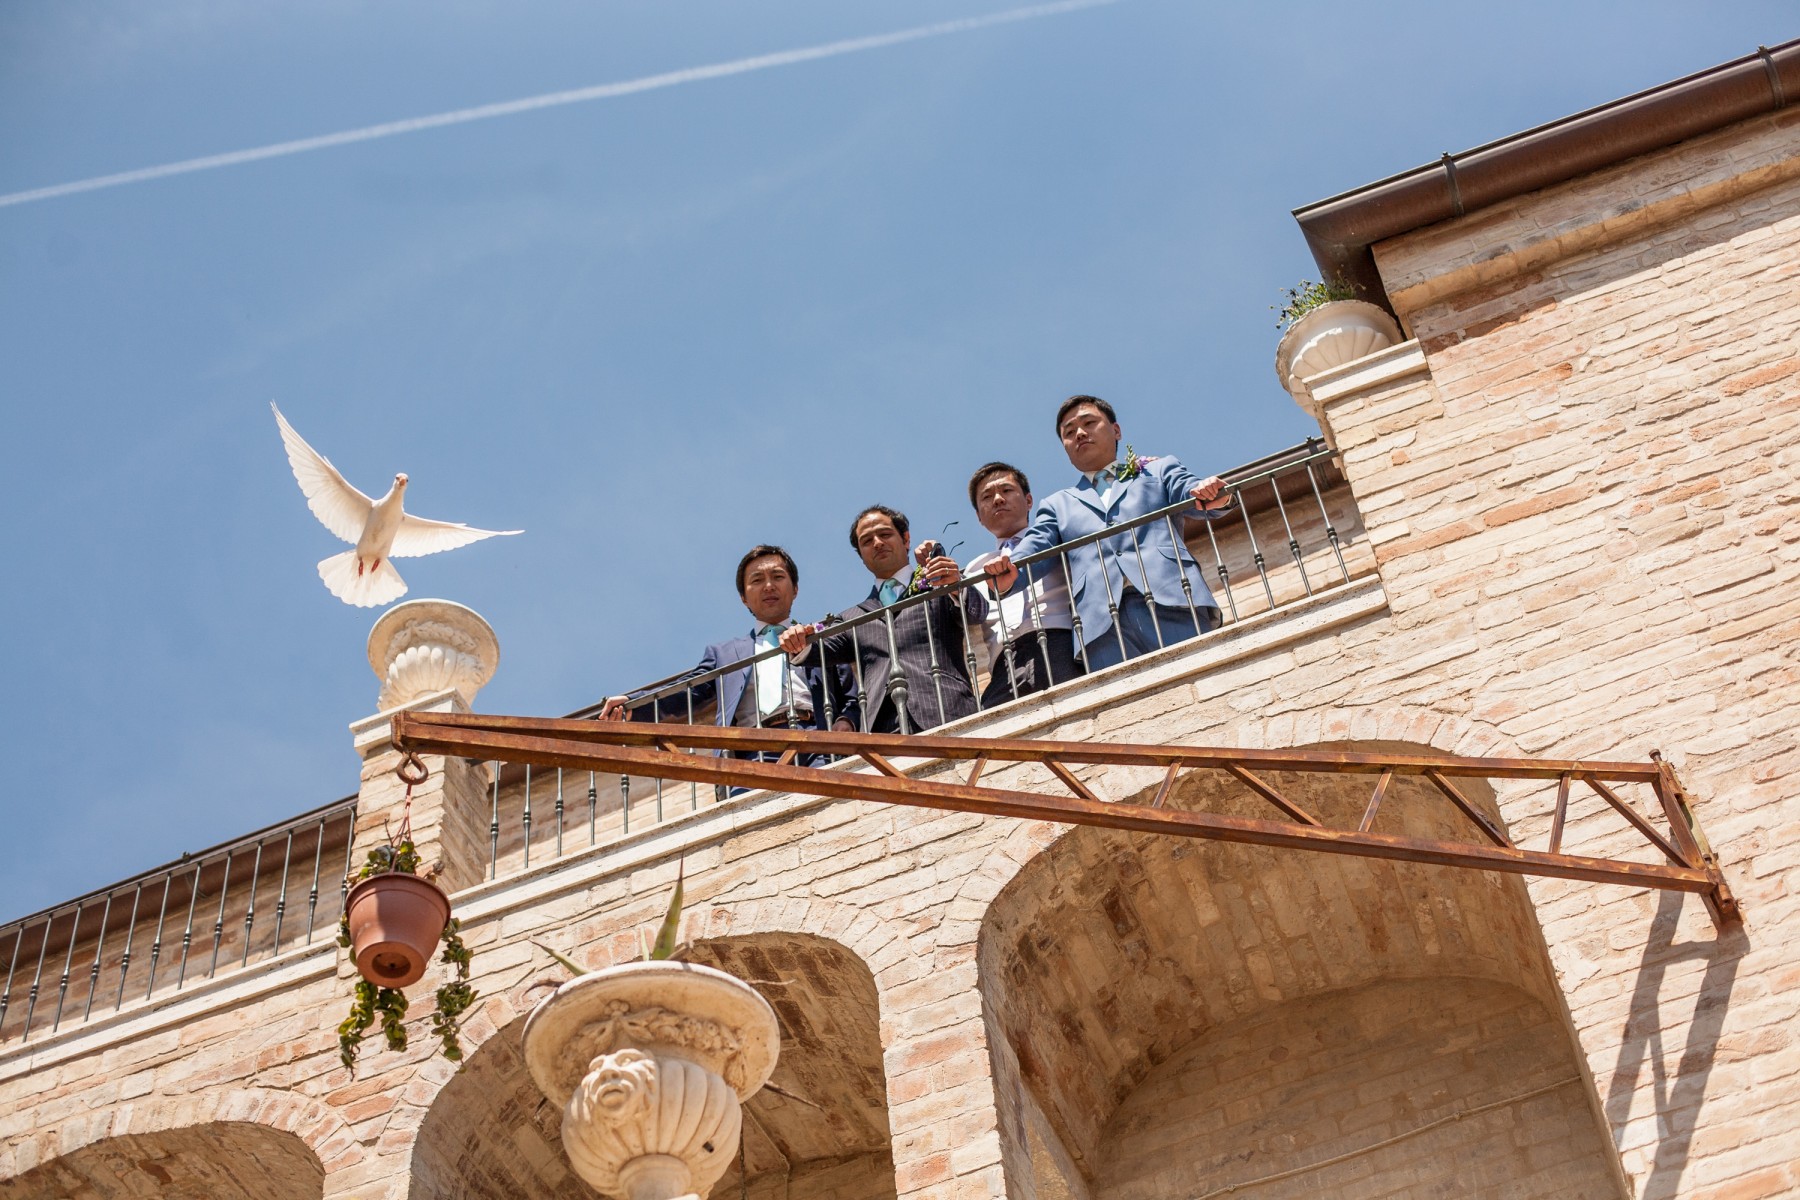
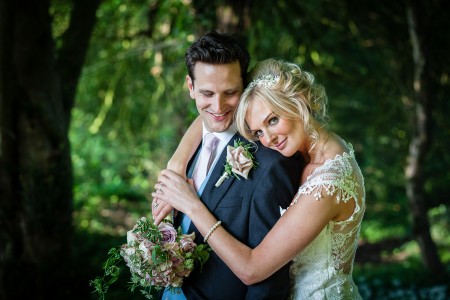
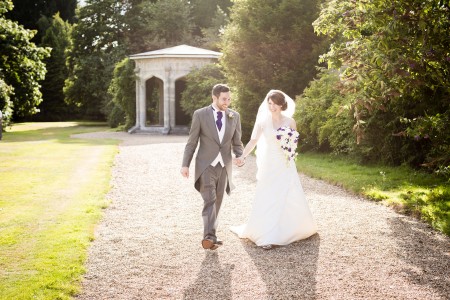
Documentary wedding photography – candid and creative
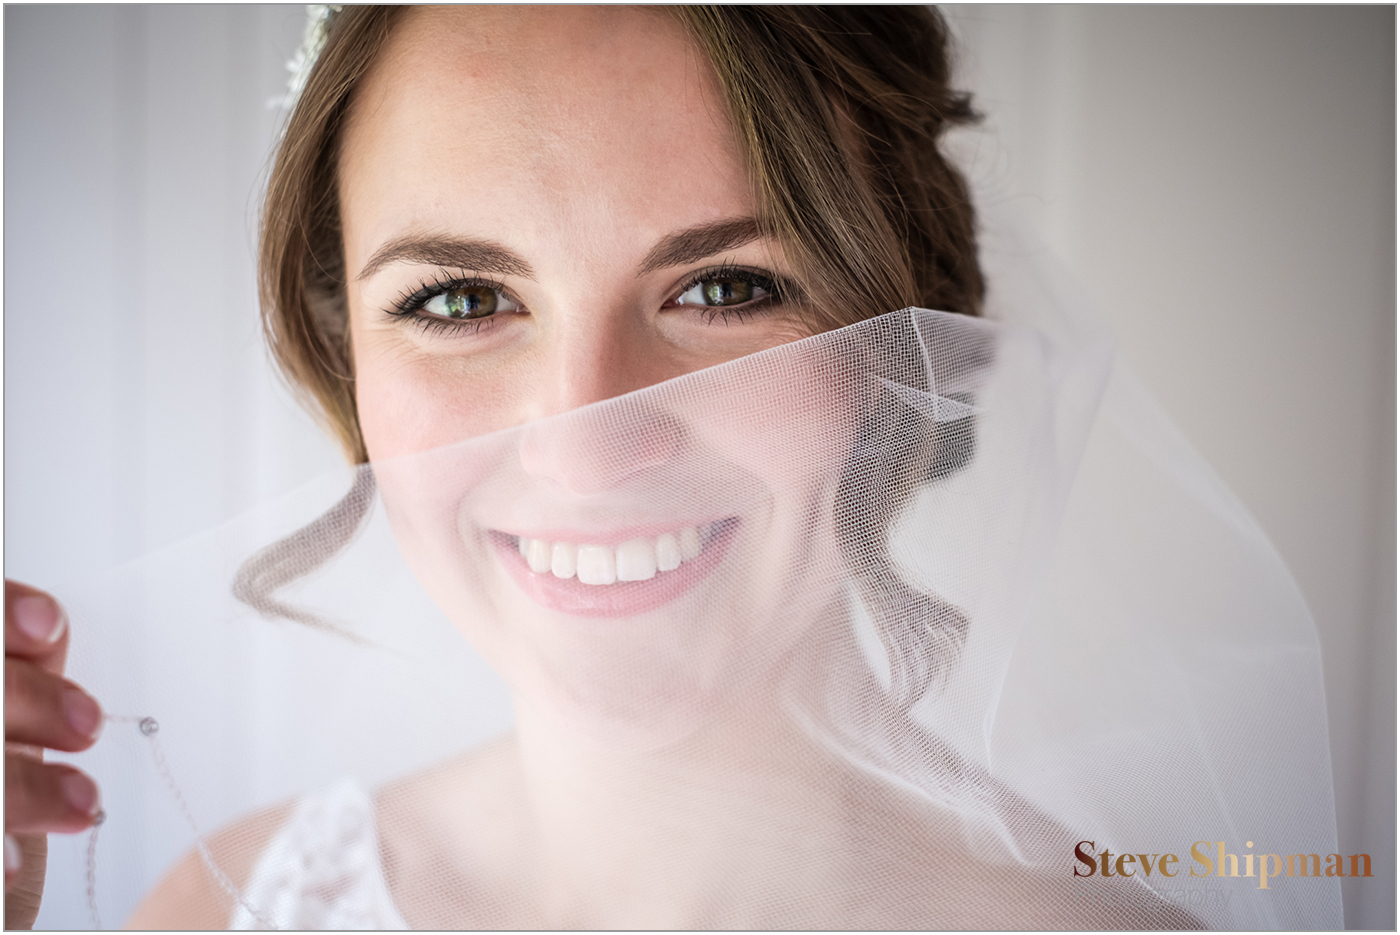
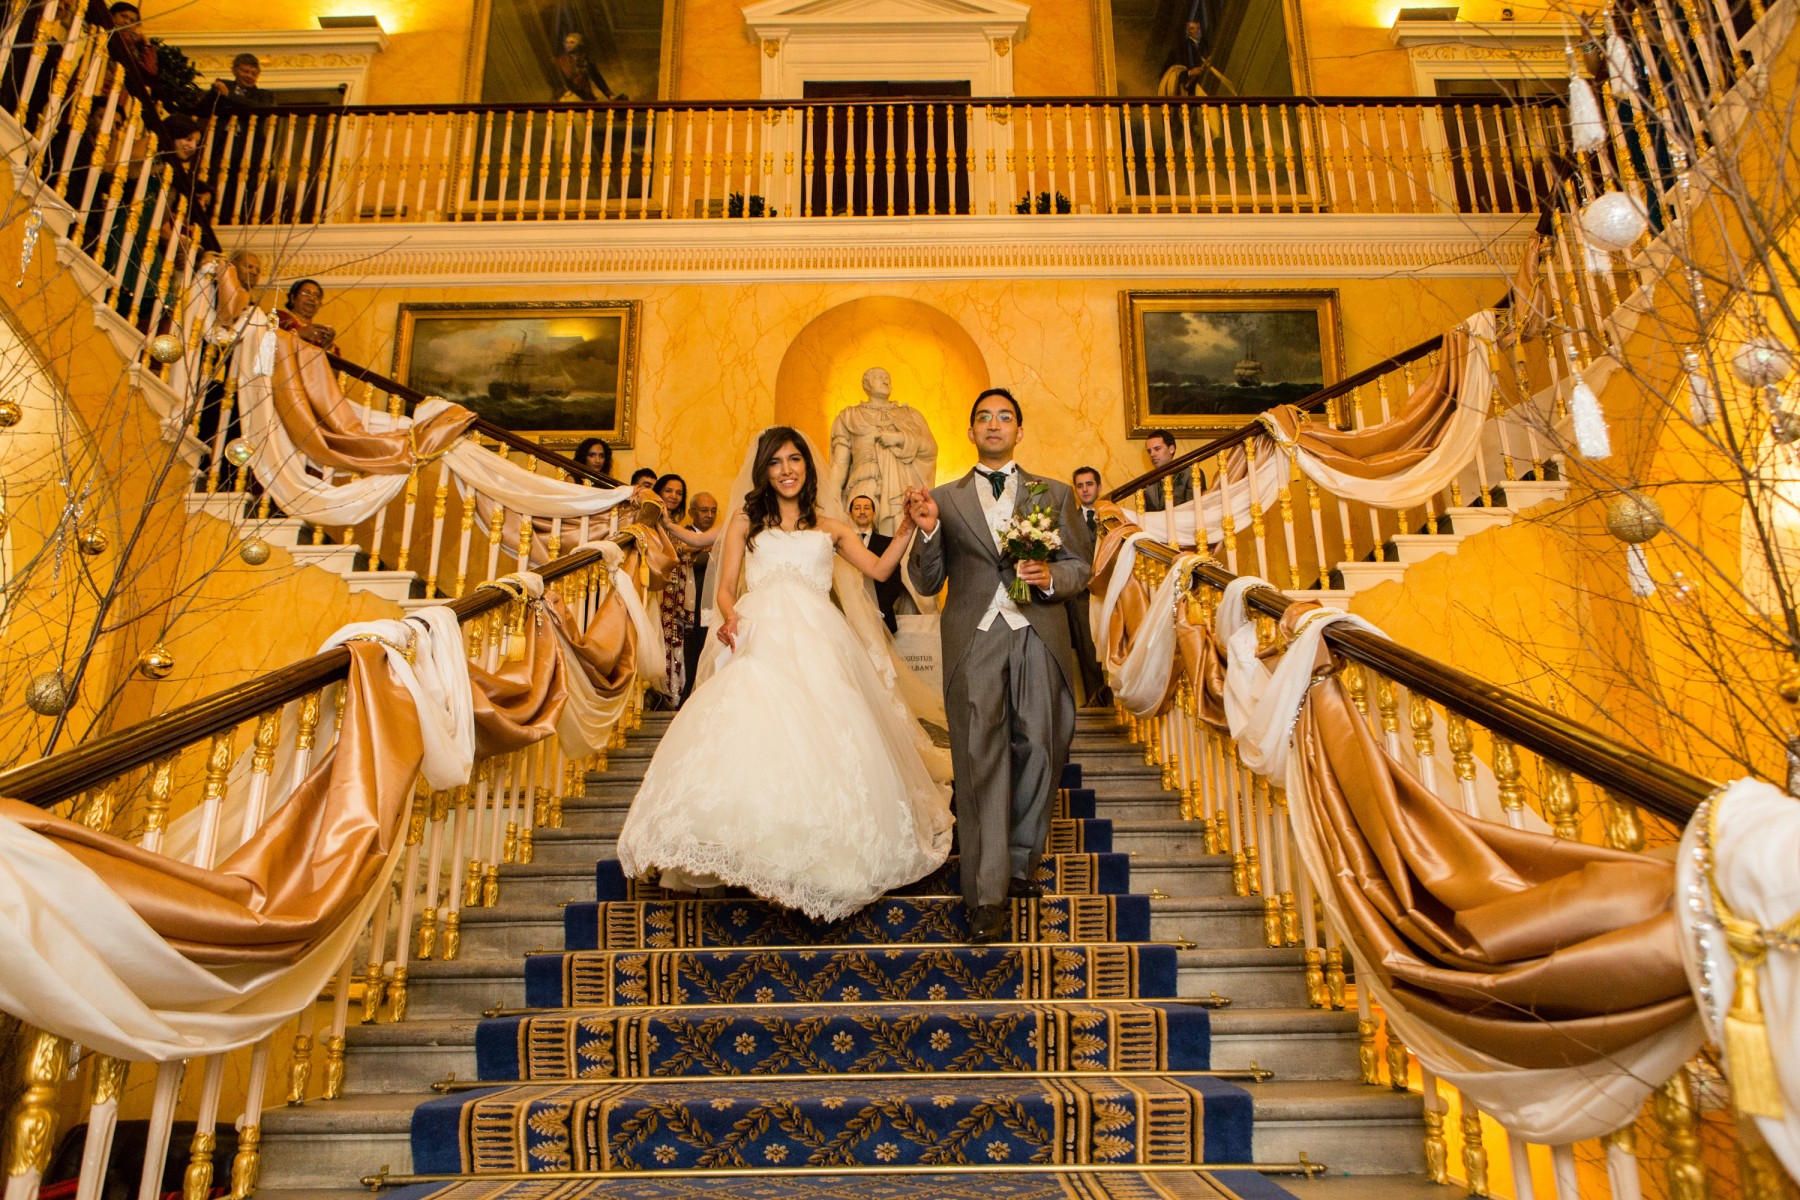
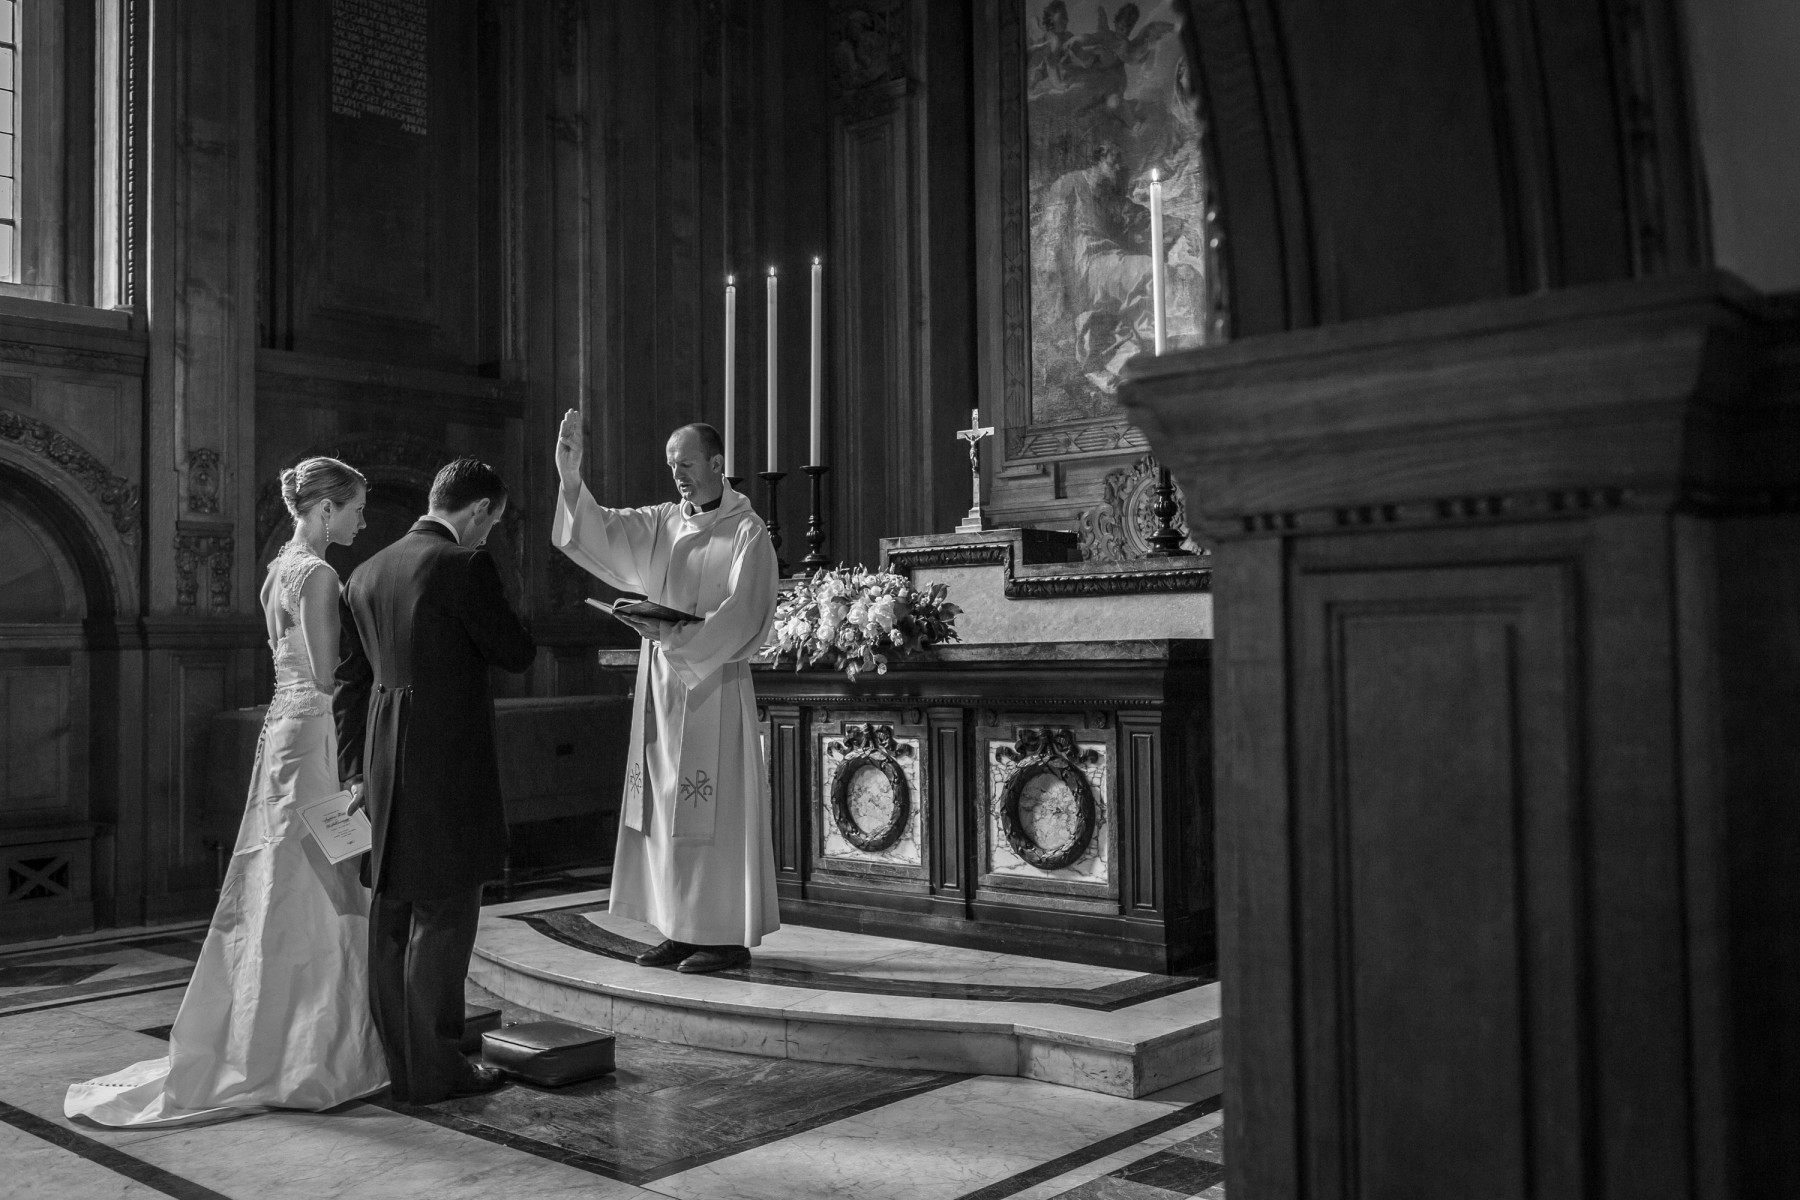
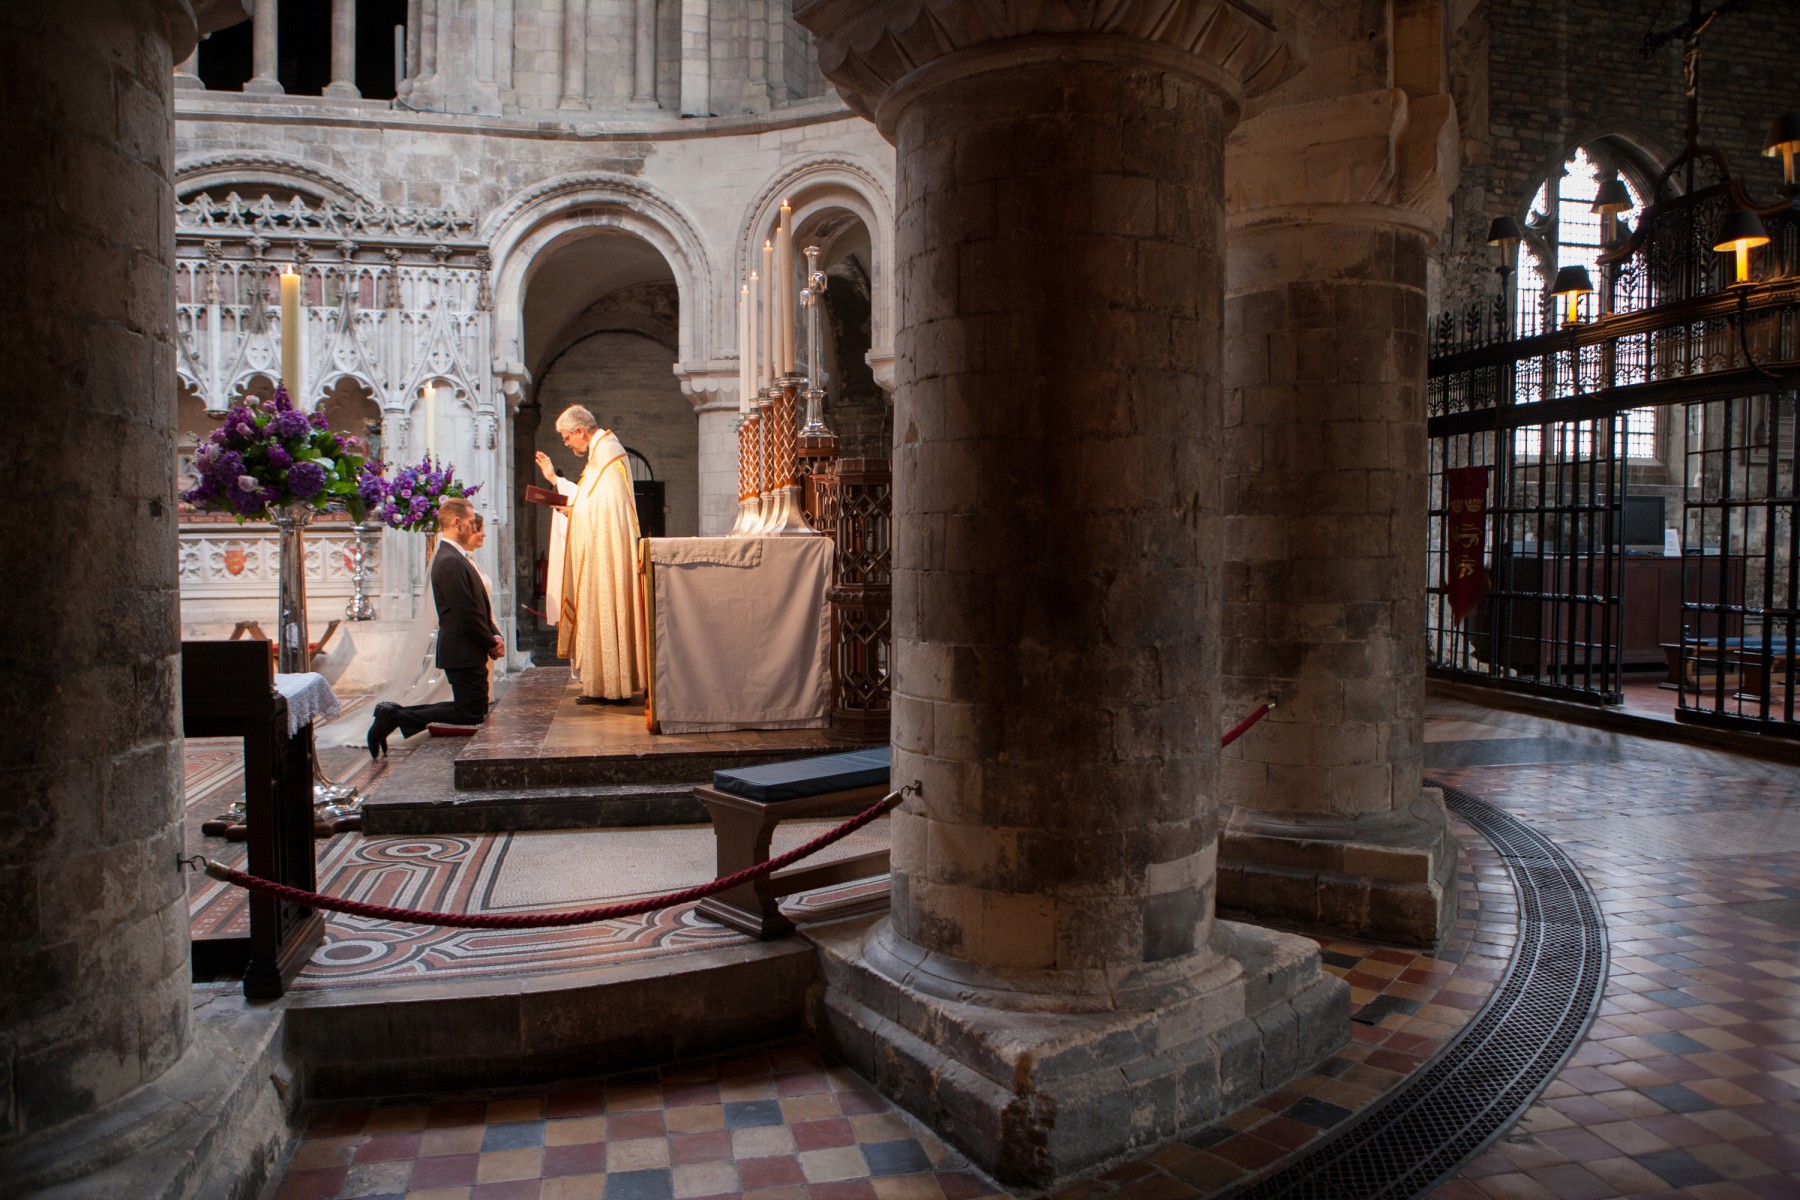
My story-telling photography style is a sensitive combination of documentary wedding photography and contemporary portraits, and is all about depicting your day with integrity, sincerity and authenticity. I photograph you and your guests without influencing the proceedings, quietly observing and creatively recording natural moments as they happen. My role is to show the unique quality of your wedding celebrations, the love you share between you, with your families and friends surrounding you. I am very much a people person, and I happily engage with your guests to put them at ease as well as you. I am respectful of the marriage ceremony, and with instinct and experience, my images show those magical moments of love and emotion – memories that will always be treasured by you and your families. I am proud to supply world class Queensberry Albums for my couples. I’m also a member of Fearless Photographers, an invite-only showcase of the best photographers in the world.
“We just wanted to say thank you for photographing our wedding. You made us and everyone feel at ease on the day and the end result is beautiful. We love each and every one of our photos – so thank you. Lots of love, Myah and Dave“
My magazine photography background
Before settling as a wedding photographer in Hertfordshire, I started my career in magazine photography. My London editorial clients trusted me to engage successfully with my celebrity subjects, and to bring back striking and engaging images for publication every single time. As well as consistently shooting photo stories for publication, I have several classic photographic portraits in the permanent collection of the National Portrait Gallery. You can see some of my celebrity portraits here.
“It is wonderful to have a complete record of everything that took place on the day. Having seen your previous work, we had high expectations and they’ve been exceeded by some magnitude.” Azi and Andrew
I love hearing all about your wedding day plans. I’d love to tell the story of your wedding day, wherever you are, and I look forward to hearing from you. If you’d like to make an enquiry, or chat about your wedding day ideas, please get in touch here.
Featured Weddings
From intimate moments to grand celebrations, our Featured Weddings showcase love’s journey. Be inspired by real stories that capture the essence of joy, commitment, and unforgettable moments.
Myah and Dave | Luton Hoo Mansion House Weddings
It is a long established fact that a reader will be distracted by the readable content of a page when looking at its layout.
Katherine and Dom | Babington House
It is a long established fact that a reader will be distracted by the readable content of a page when looking at its layout.
Alison and Michael | Shendish Manor Weddings
It is a long established fact that a reader will be distracted by the readable content of a page when looking at its layout.

Francis Wells
Choosing Steve Shipman Photography was the best decision for my wedding. His attention to detail and creativity captured every moment beautifully. I’m overjoyed with the results – stunning memories forever cherished.
~ London

Mary Yates
I’m so grateful to Steve Shipman Photography for making my wedding day unforgettable. The way he captured emotions and candid moments is beyond amazing. Cherishing these photos forever. Thank you!
~ Oxford